
When the cocoa-tinted red velvet cake batter poured cleanly over the springform pan base and firmed up after 25 minutes at 350°F, the smooth surface held the cheesecake filling without collapsing.
Layering a dessert without a divider sounds risky, but this cheesecake factory red velvet cheesecake copycat relies on a fully baked cake base that cools completely before the cheesecake filling goes on top. The red velvet layer sets firm enough to support the weight of the cream cheese mixture, while the cocoa powder gives the cake just enough structure without making it dry. Most home bakers worry the layers will merge during baking, but the cake stays distinct because it reaches full doneness before the cheesecake filling touches it.
The filling itself behaves differently than a standard cheesecake because sour cream replaces some of the cream cheese, loosening the batter enough to settle smoothly without air pockets. A lower oven temperature during the second bake — 325°F instead of 350°F — prevents the top from cracking while the center firms up slowly.
The cream cheese frosting finishes the dessert with a tangy, fluffy layer that contrasts with the dense cheesecake underneath. Beating the softened cream cheese with powdered sugar incorporates enough air to make the frosting spreadable without turning it into a glaze, and the final chill firms everything into clean, sliceable wedges.
Why This Cheesecake Looks So Impressive
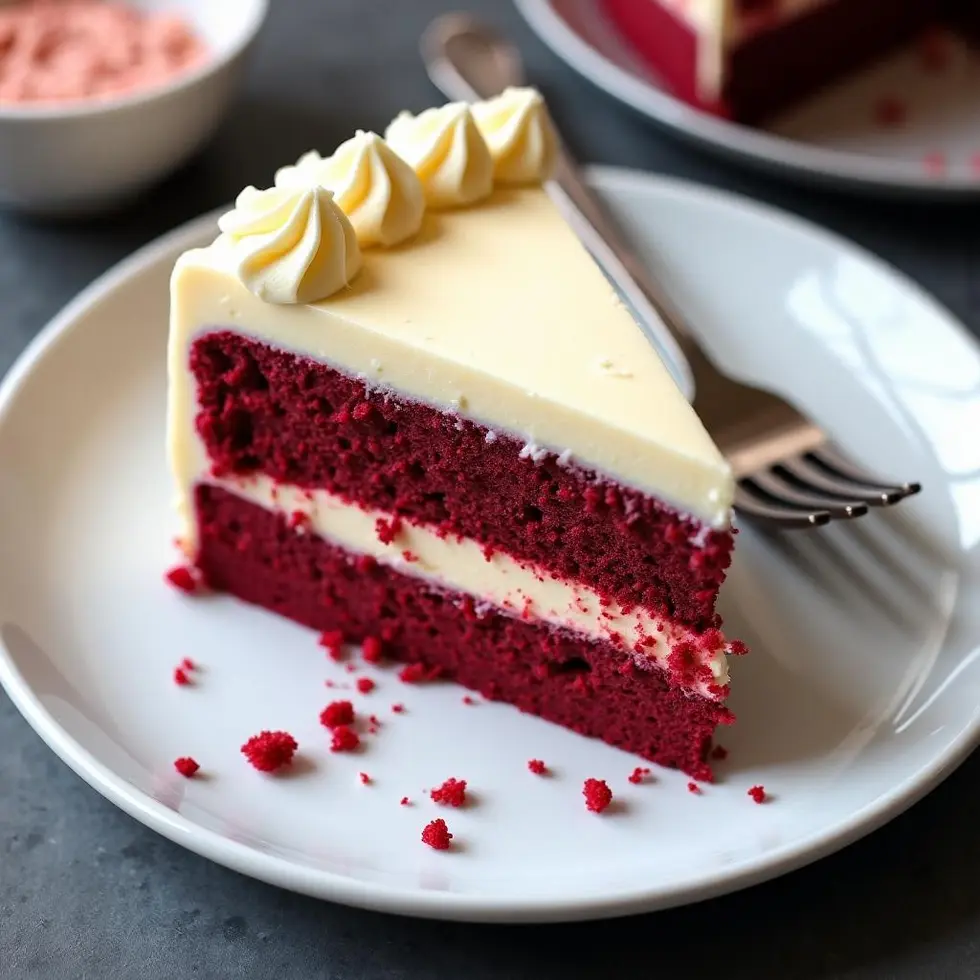
The restaurant-style version draws attention because of the sharp color contrast between the red velvet base, the pale cheesecake center, and the bright white frosting layer. Each section holds a clear boundary, and the cake layer stays moist without turning soggy under the filling. What makes this structure work at home is timing: the red velvet cake must cool completely before the cheesecake batter goes on, which prevents the two layers from blending during the second bake.
What the Red Velvet Layer Contributes
The cocoa powder in the red velvet batter adds a subtle chocolate flavor without overwhelming the tangy cream cheese filling. The vegetable oil keeps the cake tender even after refrigeration, which matters because this dessert spends at least four hours in the fridge before serving. Butter-based cakes can turn firm when chilled, but oil-based batters stay soft and sliceable straight from the refrigerator.
The red food coloring creates the visual impact, but the cocoa and the slight acidity from the batter also deepen the color during baking. One tablespoon of liquid food coloring produces a vivid red without tasting artificial, and the color holds through both baking cycles.
Baking the red velvet layer for exactly 25 minutes at 350°F ensures it sets firm enough to support the cheesecake filling without overbaking. A toothpick inserted into the center should come out clean, which signals the cake has enough structure to hold weight. If the cake underbakes, the cheesecake filling will sink into it during the second bake, and the layers will merge instead of staying distinct.
The springform pan makes unmolding simple once the dessert chills, and the straight sides create uniform layers that photograph well. If you’ve worked with a standard Cheesecake Factory cheesecake copycat recipe before, the assembly technique here follows the same logic: build the base first, then add the filling, and chill until firm.
How to Build the Layers
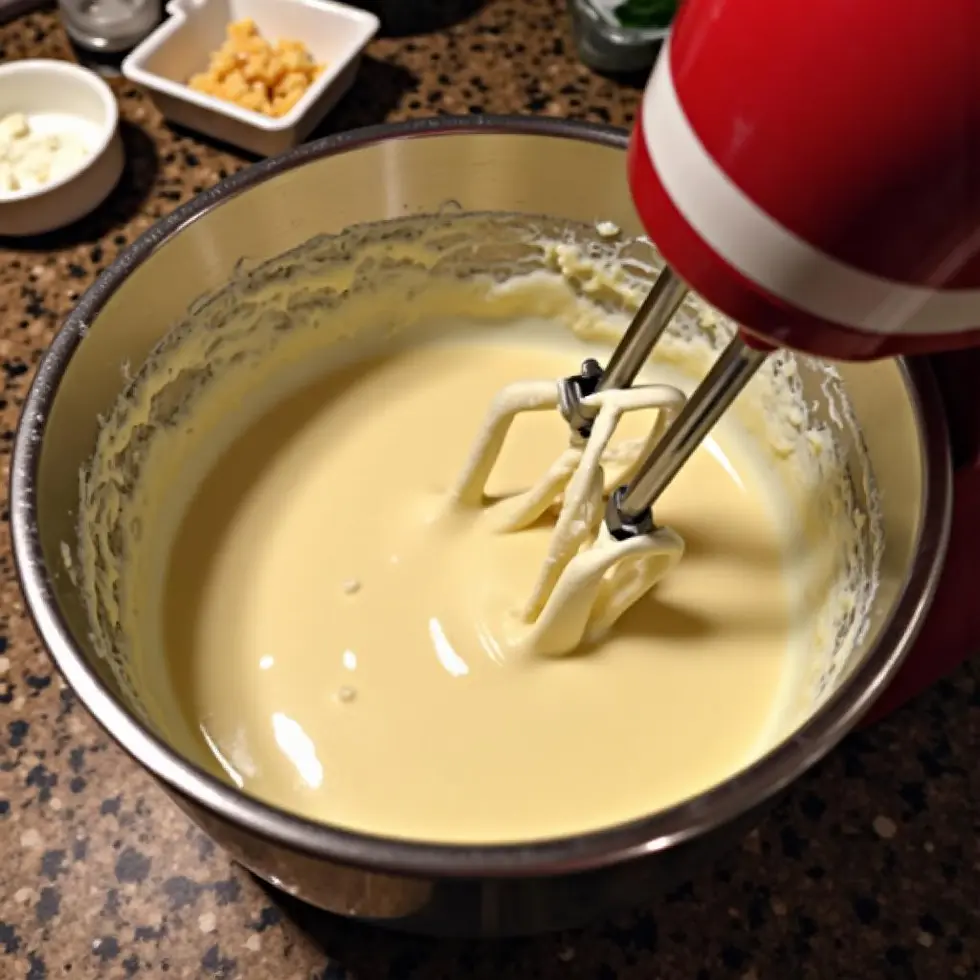
The homemade version tastes richer than many bakery versions because the filling uses a full 450 grams of cream cheese combined with sour cream, which adds tang without making the texture grainy. Most cheesecake recipes rely on cream cheese alone, but sour cream loosens the batter just enough to pour smoothly over the cake layer without trapping air bubbles. The result is a dense, creamy filling that slices cleanly once chilled.
Mixing the Cheesecake Filling
Beating the softened cream cheese with sour cream, sugar, egg, and vanilla until smooth takes about two minutes on medium speed. The filling should look glossy and pour easily, with no visible lumps. If the cream cheese is cold, it will form clumps that never fully dissolve, so letting it sit at room temperature for at least 30 minutes before mixing is essential.
Pouring the filling over the cooled red velvet cake requires a gentle hand. Starting from the center and letting the batter spread outward on its own prevents the cake from shifting or breaking. The filling should cover the cake completely and reach the edges of the pan, creating an even layer that bakes uniformly.
Baking at 325°F for 50 minutes allows the cheesecake to set without cracking. The center should jiggle slightly when the pan is gently shaken, which indicates it’s still soft but no longer liquid. Turning off the oven and leaving the cheesecake inside for one hour lets the residual heat finish cooking the center while the temperature drops gradually, which prevents the surface from splitting.
The cooling step inside the oven is what separates a smooth-topped cheesecake from a cracked one. Rapid temperature changes cause the filling to contract quickly, which pulls the surface apart. Slow cooling inside the closed oven gives the proteins in the eggs time to relax, and the cheesecake stays smooth from edge to center. According to Raw Foods Bible, controlling the oven temperature throughout the baking process is one of the most reliable ways to achieve a crack-free finish.
Chilling, Slicing, and Serving
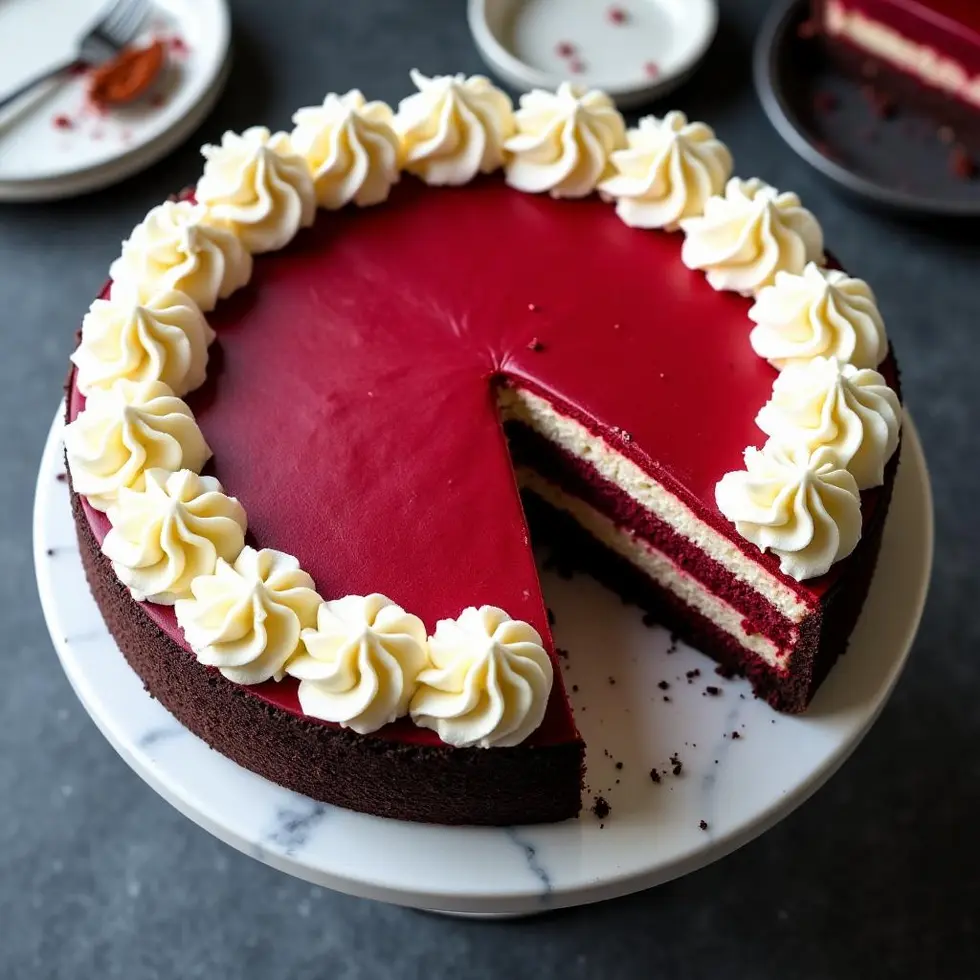
Refrigerating the cheesecake for at least four hours — or overnight — firms the filling enough to slice cleanly without the layers sliding apart. The cream cheese frosting goes on after the cheesecake has fully chilled, which prevents the frosting from melting into the surface. Beating the remaining cream cheese with powdered sugar until fluffy takes about three minutes, and the frosting should hold soft peaks without looking stiff.
Getting Clean Slices
Running a thin knife under hot water, then drying it before each cut, produces smooth slices with neat edges. The warm blade melts through the cold cheesecake without dragging, and wiping the knife between cuts keeps each slice looking tidy. Cutting the dessert into 12 wedges yields generous portions that show off all three layers.
The frosting can be spread evenly with an offset spatula or piped in swirls using a large star tip. Either method works, but piping adds height and makes the presentation more dramatic. If the frosting feels too soft to pipe, chilling it for 10 minutes in the refrigerator firms it just enough to hold its shape.
Storing leftovers in the refrigerator keeps the cheesecake fresh for up to five days. Covering the top with plastic wrap prevents the frosting from absorbing fridge odors, and placing the springform pan on a flat plate catches any drips. The dessert does not freeze well because the red velvet layer can turn dense after thawing, and the frosting may separate.
If you want to adjust the sweetness, cutting the powdered sugar in the frosting by a quarter still produces a fluffy texture without making the topping cloyingly sweet. The tangy cream cheese filling balances the sweetness of the cake and frosting, so reducing the sugar slightly won’t make the dessert taste flat. This cheesecake factory red velvet cheesecake copycat delivers the same layered structure and rich flavor as the restaurant version, with the advantage of controlling the ingredient quality and portion size at home.
The Overnight Chill Matters
Letting this copycat dessert sit overnight in the refrigerator gives the layers time to settle completely, which makes slicing easier and improves the flavor. The cream cheese filling tastes milder when freshly baked, but after a full night in the fridge, the tang from the sour cream becomes more pronounced and the texture turns silky instead of soft. The red velvet cake also absorbs a hint of moisture from the filling, which keeps it tender without making it soggy.
If you’re planning to serve this for a celebration, baking it the day before removes the stress of last-minute assembly and gives the frosting time to set firmly. The dessert looks just as impressive as any bakery version, but you control the ingredient quality, the portion size, and the sweetness level. The springform pan releases cleanly once chilled, and the frosting holds its shape even when the dessert sits at room temperature for 20 minutes before serving.
Frequently Asked Questions
Can I use natural red food coloring instead of liquid food coloring?
Natural red food coloring works, but it produces a softer pink or burgundy shade instead of the vivid red most people expect from red velvet cake. The color may also fade slightly during baking, so if appearance matters, liquid food coloring delivers more consistent results. The flavor remains the same either way.
Do I need to grease the sides of the springform pan?
Greasing only the bottom of the springform pan allows the cheesecake to cling to the sides as it bakes, which helps prevent cracking. If the sides are greased, the filling can pull away from the pan during cooling, which sometimes causes the surface to split. A light coat of oil or butter on the base is enough.
Can I make this cheesecake without a springform pan?
A regular 9-inch cake pan works, but removing the cheesecake cleanly becomes much harder. Lining the pan with parchment paper on the bottom and up the sides helps, but you’ll still need to lift the dessert out carefully. The springform pan’s removable sides make unmolding simple without risking damage to the layers.
How do I know when the cheesecake is done baking?
The center should jiggle slightly when you gently shake the pan, but the edges should look set and matte instead of glossy. If the entire surface jiggles like liquid, the cheesecake needs more time. Overbaking dries out the filling and increases the chance of cracking, so checking at the 50-minute mark is important.
Can I reduce the sugar in the frosting?
Yes. Cutting the powdered sugar to 3/4 cup still produces a fluffy frosting with enough sweetness to balance the tangy cheesecake filling. The frosting may be slightly softer, so chilling it for 10 minutes before spreading or piping helps it hold its shape. The dessert will taste less sweet overall, which some people prefer.
Red Velvet Cheesecake
Ingredients
Method
- Preheat the oven to 350°F / 175°C and grease a 9-inch springform pan.
- Whisk together flour, cocoa powder, 1/2 cup sugar, 1 egg, oil, and red food coloring until smooth, then pour into the pan and bake for 25 minutes until a toothpick comes out clean.
- Beat cream cheese, sour cream, 1/2 cup sugar, 1 egg, and vanilla until smooth, then pour over the cooled cake layer.
- Bake at 325°F / 160°C for 50 minutes until the center is just set, then turn off the oven and let the cheesecake cool inside for 1 hour.
- Refrigerate for at least 4 hours or overnight until fully chilled and firm.
- Beat remaining cream cheese with powdered sugar until fluffy, then spread or pipe over the chilled cheesecake before slicing.
