
Most cooks preheat their air fryer basket empty, but tossing the chicken with panko breadcrumbs while the basket warms means the coating stays loose and sticks evenly, instead of clumping before it ever reaches the heat.
That small timing shift changes how the crust forms. When you coat chicken just before loading it into a preheated basket, the panko particles stay dry and separate, so hot air hits each crumb individually and turns it golden instead of soft. The method looks the same, but the sequence matters more than most recipes admit.
This version delivers crispy chicken bites in air fryer by using a thin olive oil coating, preheating to 400°F / 200°C, and giving every piece enough space for air to circulate. The rest happens without deep frying or extra pans.
Why Air Fryer Chicken Bites Work So Well
Rapid Hot Air Creates Even Browning
An air fryer circulates superheated air around food at high speed, which pulls moisture away from the surface faster than a conventional oven. That rapid evaporation is what turns panko breadcrumbs golden and crisp in ten minutes. The same principle that makes fried food crunchy applies here, but without submerging anything in oil.
The basket design matters because perforations on the bottom and sides let hot air reach every exposed surface. When you arrange the bites in a single layer without overlap, each piece browns at the same rate. Stacking them blocks airflow and leaves some pieces pale while others darken too much.
Light Oil Application Versus Heavy Coating
One tablespoon of olive oil tossed with 500 grams of chicken provides just enough fat to help the panko brown without making it greasy. Too much oil saturates the breadcrumbs and turns them soggy under heat. Too little leaves the coating dry and pale.
The panko itself absorbs the oil unevenly if you pour it on after coating. Tossing everything together in a bowl first distributes the oil across the chicken surface, so the breadcrumbs stick and crisp uniformly. This approach uses far less fat than pan-frying, where the chicken sits in a pool of oil the entire time.
Most air fryer beginners add oil by spraying the basket, but that misses the chicken itself and wastes the coating’s browning potential. Mixing the oil directly with the chicken before breading ensures every bite develops the same crust, which is especially useful when you want a consistent result across multiple batches.
Why Spacing Beats Higher Temperature
Crowding the basket raises the internal humidity because moisture released from the chicken has nowhere to escape. Even at 400°F / 200°C, a packed layer steams instead of roasting. Leaving a small gap between each piece lets the fan pull moisture away, so the surface dries and crisps instead of softening.
If you need to cook more than fits in one layer, work in batches and keep the first batch warm in a low oven. Rushing the process by stacking pieces always sacrifices texture, and no amount of extra time fixes that once the coating has softened.
Preheating the basket for three minutes before adding the chicken gives you a head start on browning, similar to heating a skillet before searing meat. The surface begins to crisp immediately on contact, which shortens total cook time and keeps the interior juicy.
How to Cook Chicken Bites in the Air Fryer
Coating the Chicken Evenly
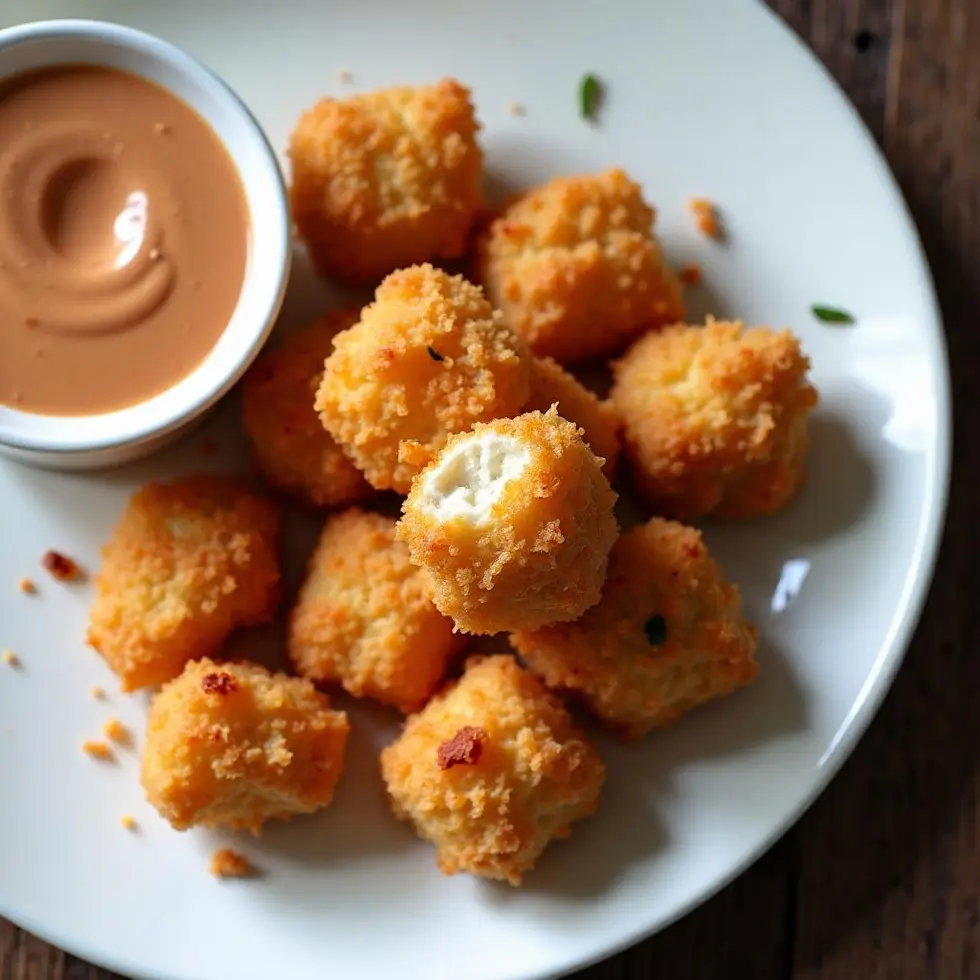
Cut the chicken breast into pieces roughly one inch across so they cook at the same rate. Uneven sizes mean some finish dry while others stay undercooked. A consistent cube shape also gives you more surface area for the coating to stick.
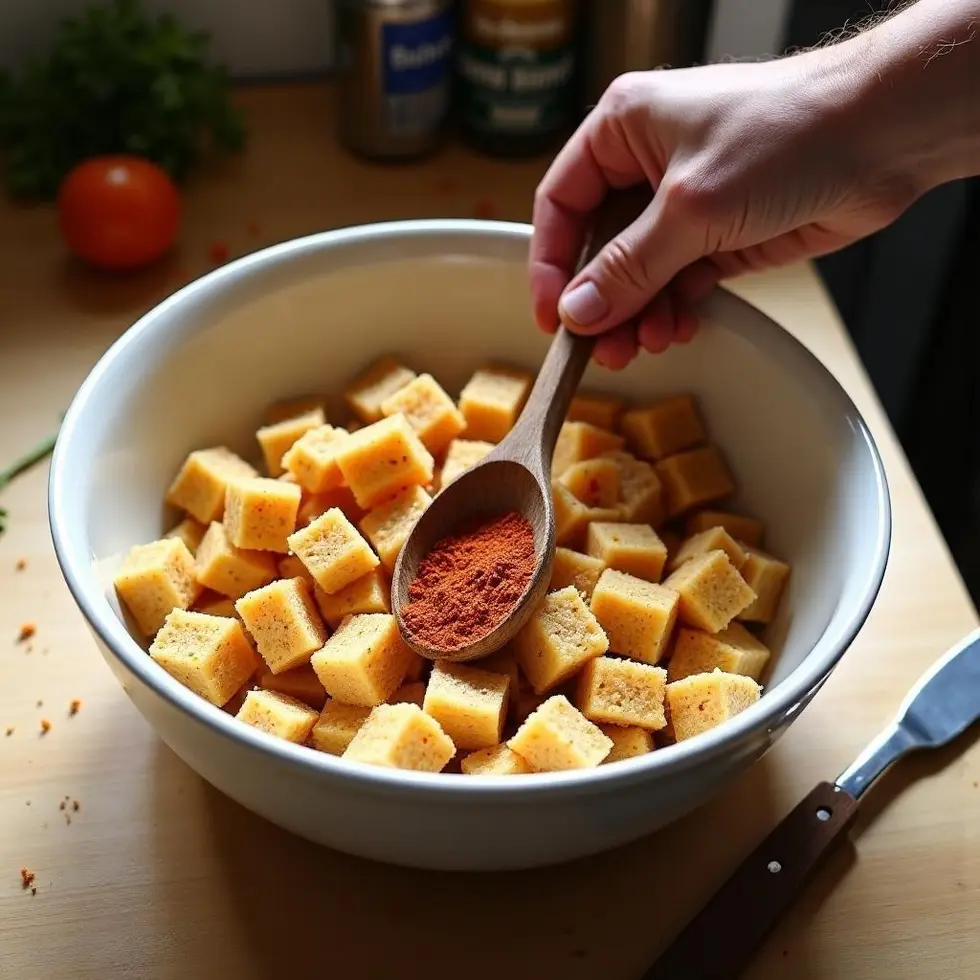
Combine the olive oil, panko, garlic powder, smoked paprika, onion powder, black pepper, and salt in a mixing bowl. Add the chicken and toss with your hands or a spoon until every piece carries an even layer of breadcrumbs. The spices blend into the panko, so each bite tastes seasoned all the way through instead of just on the outside.
If the coating looks patchy, add another teaspoon of oil and toss again. The goal is a thin, even crust that clings without clumping. Thick patches brown too fast and burn before the chicken cooks through.
Temperature, Timing, and the Flip
Set the air fryer to 400°F / 200°C and preheat for three minutes. This step is not optional—starting with a hot basket gives the coating an immediate sear, which locks in the texture before moisture softens it.
Arrange the coated chicken in a single layer with space between each piece. Close the basket and cook for ten to twelve minutes, shaking halfway through. The shake redistributes the pieces so all sides brown evenly, and it only takes five seconds.
Check at the eight-minute mark. If the coating looks pale, leave it for the full twelve minutes. If it is already deep golden, pull it early to avoid drying out the meat. An instant-read thermometer should register 165°F / 74°C at the thickest part of the largest piece. That temperature guarantees the chicken is fully cooked without cutting into it to check.
Compared to pan-frying, this method uses a fraction of the oil and eliminates the need to stand over a hot stove flipping pieces one by one. Compared to baking, the air fryer cuts the time nearly in half and delivers a much crispier crust because the fan moves heat more aggressively than a still oven.
One mistake beginners make is skipping the rest period. Pulling the chicken straight from the basket and plating it immediately causes the coating to soften as trapped steam escapes. Letting the bites sit for two minutes on a cooling rack or plate allows the crust to set, so it stays crisp when you serve them.
What to Watch For During Cooking
Listen for a faint sizzle about two minutes in. That sound means moisture is evaporating and the coating is starting to brown. If you hear nothing, the air fryer may not have preheated fully, or the chicken may be too wet from rinsing without drying.
Panko browns faster than regular breadcrumbs because the flakes are larger and drier. If you see dark edges forming before the timer hits ten minutes, lower the temperature to 375°F / 190°C for the remaining time. Most air fryer models run slightly hotter than their dial suggests, so a quick visual check prevents overcooking.
The basket should release the chicken easily when it is ready. If pieces stick, they likely need another minute to finish crisping. Forcing them off tears the coating and leaves it behind on the basket.
Sauces, Storage and Easy Variations
Dipping Sauces That Complement the Coating
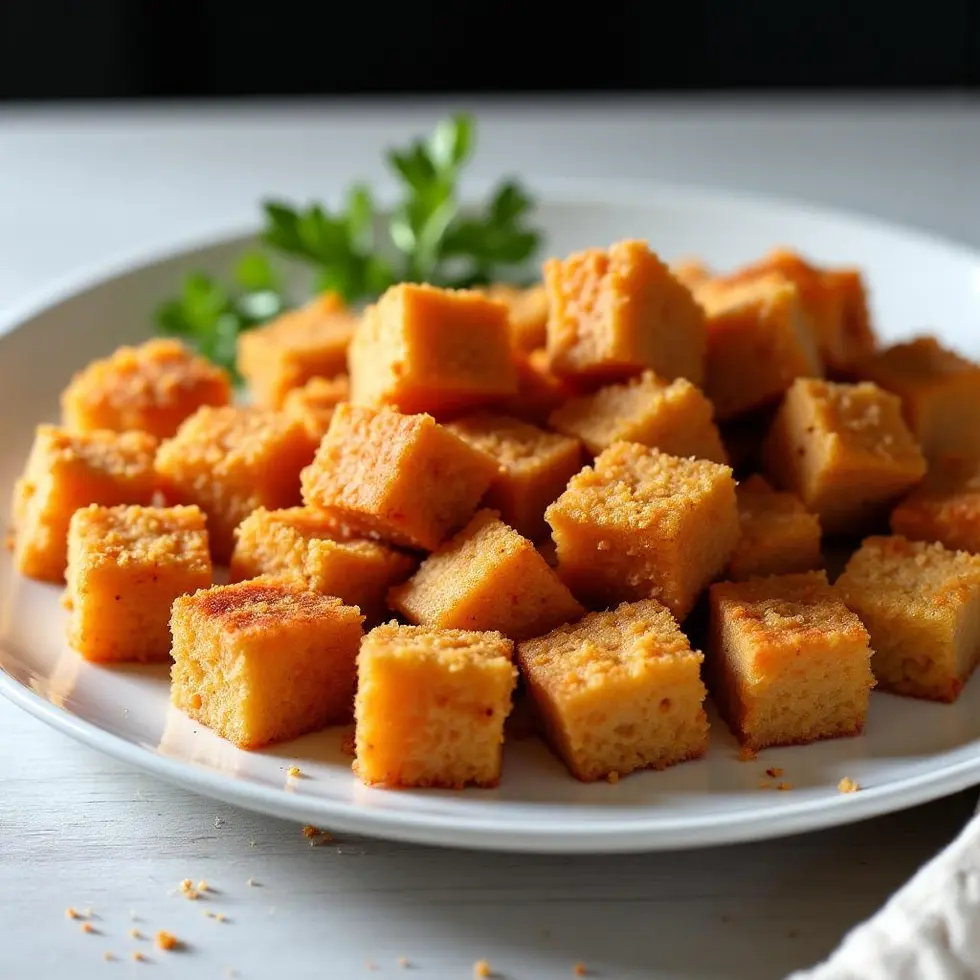
A tangy honey mustard made with equal parts Dijon mustard and honey cuts through the richness of the panko crust without overpowering the seasoning. Ranch dressing works if you prefer something creamy, and a spicy mayo mixed with sriracha adds heat without masking the garlic and smoked paprika.
For a sweeter option, try a similar approach to the glaze used in Copycat Panda Express Orange Chicken, where the cornstarch coating stays crisp even after sauce is added. Here, serve the sauce on the side so the panko crust keeps its texture instead of softening under a pour-over glaze.
Storing Leftovers and Reheating
Refrigerate cooled chicken bites in an airtight container for up to three days. Reheat them in the air fryer at 375°F / 190°C for four to five minutes to restore the crisp coating. Microwaving makes them rubbery and destroys the crust entirely.
If you want to prep ahead, coat the chicken and refrigerate it uncovered for up to two hours before cooking. The dry refrigerator air tightens the coating and helps it crisp even faster when it hits the heat. Do not freeze coated raw chicken—the moisture from thawing soaks the breadcrumbs and turns them pasty.
Simple Variations Using the Same Method
Swap smoked paprika for cayenne if you want more heat, or use Italian seasoning and grated Parmesan mixed into the panko for a savory herb crust. The air fryer technique stays the same, so you can change the flavor profile without adjusting temperature or time.
For a buffalo-style version, toss the cooked bites in melted butter mixed with hot sauce immediately after they come out of the basket. The coating absorbs the sauce while still hot but stays crispier than if you had marinated the raw chicken first.
You can also try variations from Recipe Diaries if you are working with frozen chicken, though fresh pieces cook more evenly and develop a better crust. Another approach worth exploring is the crispy coating technique in Milena Recipes, which uses a similar panko method with a sweet and spicy glaze served alongside.
Coating the chicken just before it meets the preheated basket keeps the panko loose and dry, which is the single detail that decides whether you get a crisp crust or a soft one.
Coating Technique Changes Everything
Preheating the basket, spacing the bites properly, and using just enough oil to coat—not drench—the chicken all matter, but the timing of when you toss the panko onto the chicken decides whether the coating crisps or steams. Coating too early gives the breadcrumbs time to absorb moisture from the raw chicken, which softens them before they ever reach the heat.
Try making these bites once as written, then notice how the crust sounds when you bite into it and how the inside stays moist without drying out. That combination only happens when the coating stays dry until the exact moment it hits 400°F heat.
Frequently Asked Questions
Can I use frozen chicken breast for this recipe?
Thaw the chicken completely and pat it dry with paper towels before coating. Frozen chicken releases too much moisture during cooking, which prevents the panko from crisping properly and leaves the coating soggy.
What if my air fryer basket is small?
Cook the chicken in two batches instead of crowding the basket. Keep the first batch warm in a 200°F / 95°C oven on a wire rack while the second batch cooks. Stacking pieces or overlapping them blocks airflow and ruins the texture.
Do I need to spray the basket with oil?
No, the olive oil tossed with the chicken is enough to prevent sticking. Spraying the basket adds unnecessary fat and does not improve browning because the oil needs to coat the chicken itself, not the basket surface.
How do I know when the chicken is fully cooked?
Use an instant-read thermometer to check that the thickest piece has reached 165°F / 74°C. Visual cues like golden color show the coating is done, but only a thermometer confirms the meat is safe to eat.
Can I use regular breadcrumbs instead of panko?
Regular breadcrumbs work but produce a denser, less crispy crust because they are finer and pack more tightly. Panko flakes are larger and stay lighter, which allows more air to circulate around each crumb and create a crunchier texture.
Air Fryer Chicken Bites
Ingredients
Method
- Preheat the air fryer to 400°F / 200°C for 3 minutes.
- Toss the chicken pieces with olive oil, panko breadcrumbs, garlic powder, smoked paprika, onion powder, black pepper, and salt until evenly coated.
- Arrange the chicken in a single layer in the air fryer basket without overcrowding.
- Air fry at 400°F / 200°C for 10 to 12 minutes, shaking the basket halfway through, until golden brown and the internal temperature reaches 165°F / 74°C.
- Rest for 2 minutes before serving to allow the coating to set and stay crispy.
