
Panko clinging to olive-brushed chicken crisped into jagged golden edges at 400°F without a single greasy spot.
The air fryer basket is the tool that makes this work. Most models use a perforated tray or slotted basket that allows hot air to hit the chicken from every angle — top, bottom, and sides — while any released moisture escapes through the gaps instead of pooling. That constant airflow, combined with high heat, drives moisture away from the coating while browning the panko and Parmesan into a crisp shell. A baking sheet traps steam underneath; a skillet requires enough oil to submerge half the tender. The basket does neither.
The entire process takes 20 minutes from start to finish, with only 8 minutes of active prep. Once the tenders go into the basket, the machine does the work. You flip once, check the color at ten minutes, and rest for two. Fried chicken tenders typically need a thermometer, a splatter guard, and a batch cook in multiple rounds. This chicken tenders recipe air fryer approach uses one basket, one temperature, and one flip.
These tenders depend on dry coating adhesion, not batter. Olive oil brushed onto the chicken gives the panko something to grab, and the Parmesan adds fat that melts into the breadcrumbs as they brown. Garlic powder and smoked paprika season every bite without requiring a marinade. The coating stays put because it is pressed on dry, and the air fryer sets it in place within the first three minutes.
What Makes Air Fryer Chicken Tenders Crispy
The Basket Design and Airflow
Air fryer baskets use perforated metal or slotted trays that allow air to circulate under and around the food. Most ovens bake from above and below, but they do not force air past the surface at high speed. The fan inside an air fryer pushes heated air through the basket holes, hitting the coating from every direction. That movement pulls moisture away from the panko before it can turn soggy, and it browns the surface through rapid convection heat. If the tenders overlap, air cannot reach the covered sections, and those spots stay pale and soft. Spacing them in a single layer with at least half an inch between each piece ensures even crisping.
Preheat the basket for three minutes at 400°F / 200°C before adding the chicken. A cold basket absorbs heat from the coating instead of setting it immediately, which delays browning and allows more moisture to escape from the chicken itself. The preheated surface starts the Maillard reaction as soon as the panko touches metal, forming a crust that locks in juice.
Why Panko Crisps Better Than Standard Breadcrumbs
Panko breadcrumbs are larger and more irregularly shaped than standard breadcrumbs, which means they create more surface area for browning. Each flake catches air and heat differently, forming uneven peaks that crisp faster than a smooth coating. The flakes also contain less moisture than finely ground crumbs, so they dehydrate quickly under the air fryer’s heat. Parmesan adds fat and salt, both of which improve browning and flavor. The cheese melts slightly, binding the panko to the chicken while adding a savory edge that balances the garlic and paprika.
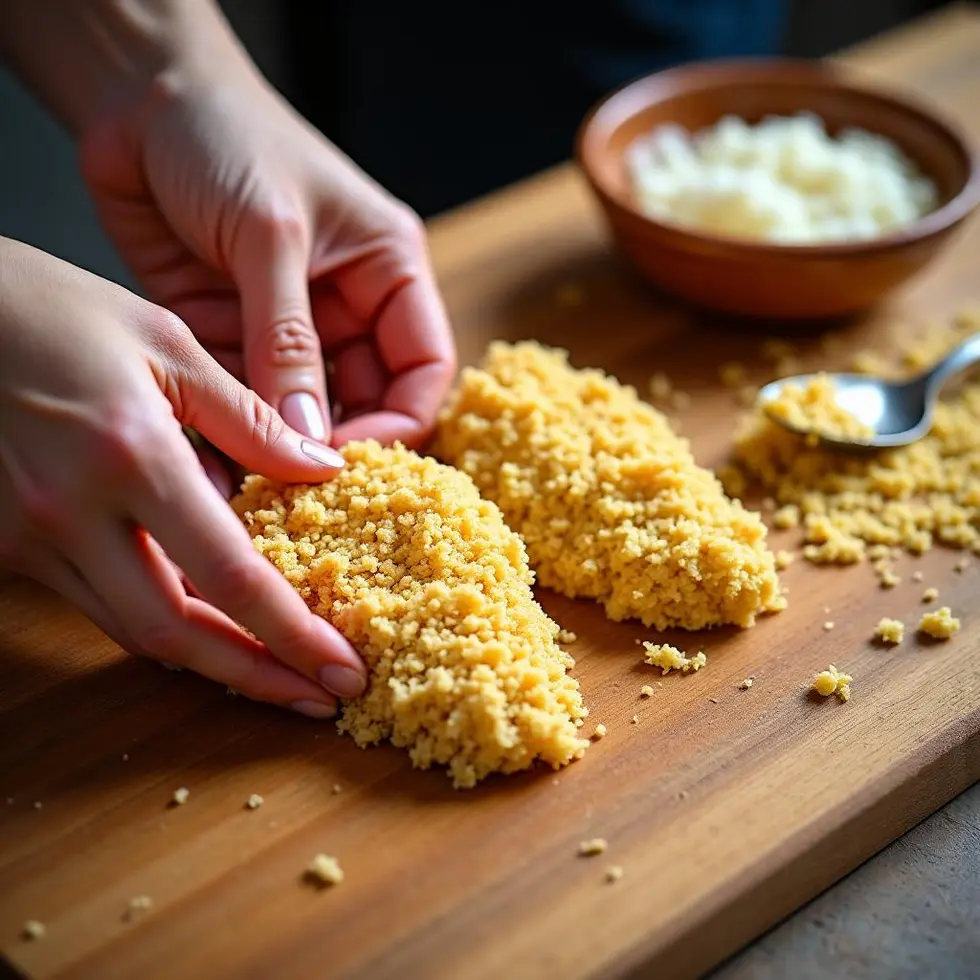
Brush olive oil onto the chicken before pressing on the coating. The oil creates a tacky surface that holds the dry ingredients in place and helps the panko brown evenly. Without it, the coating may fall off during the flip or brown unevenly because the panko cannot make full contact with the meat. One tablespoon is enough for 450 grams of chicken; more than that and the coating will taste oily instead of crisp. You can explore a similar panko chicken air fryer method if you prefer a thicker crust with a slightly different seasoning blend.
If the coating slides off during handling, the chicken was too wet or the panko was not pressed firmly enough.
How to Cook Chicken Tenders in the Air Fryer
Temperature, Timing, and the Flip
Set the air fryer to 400°F / 200°C. This temperature is high enough to crisp the panko without drying out the chicken, and it cooks the tenders through in 10 to 12 minutes. Lower temperatures extend the cooking time, which pulls more moisture from the meat. Higher temperatures risk burning the coating before the chicken reaches 165°F / 74°C at the center. Most air fryers hold a consistent temperature once preheated, but check your model’s manual if you notice uneven browning — some units run 10 to 15 degrees hotter or cooler than the dial setting.
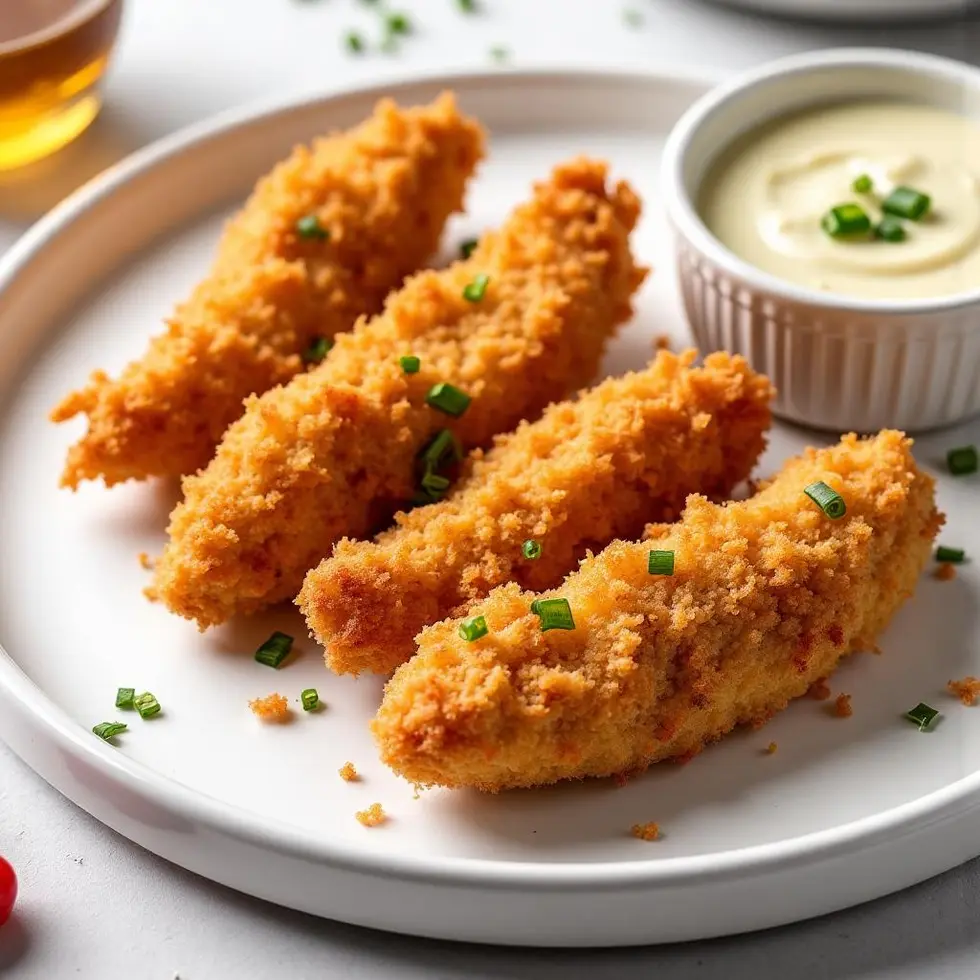
Flip the tenders at the halfway mark, around five to six minutes. This ensures both sides develop the same golden color and crisp texture. Use tongs to turn each piece gently so the coating does not tear. Check the color at ten minutes. The panko should be deep golden brown, and the chicken should feel firm when pressed lightly. If the coating is still pale, add two more minutes. If it is already dark but the chicken is not done, lower the temperature to 375°F / 190°C and continue cooking.
Doneness, Resting, and Common Mistakes
Insert an instant-read thermometer into the thickest part of the largest tender. It should read 165°F / 74°C. Chicken tenders cook faster than breasts because they are thinner, but thickness can vary between pieces, so always check the largest one. If you do not have a thermometer, cut into the thickest section — the meat should be opaque white with no pink, and the juices should run clear.
Rest the tenders for two minutes after removing them from the basket. This allows the juices to redistribute and the coating to firm up slightly, which prevents the panko from turning soggy when plated. Skipping the rest means the coating will absorb moisture from the hot chicken, softening the crust.
The most common mistake is crowding the basket. Overlapping tenders trap steam between the layers, which softens the coating and prevents even browning. If your basket is small, cook the chicken in two batches instead of stacking. The second batch will take the same amount of time because the basket is already hot. Unlike pan frying, where the oil temperature drops between batches, the air fryer maintains consistent heat as long as it stays on.
Coating adhesion improves when the panko is pressed firmly onto the oiled chicken before cooking.
Dipping Sauces, Freezing and Reheating
Sauce Pairings and Serving Ideas
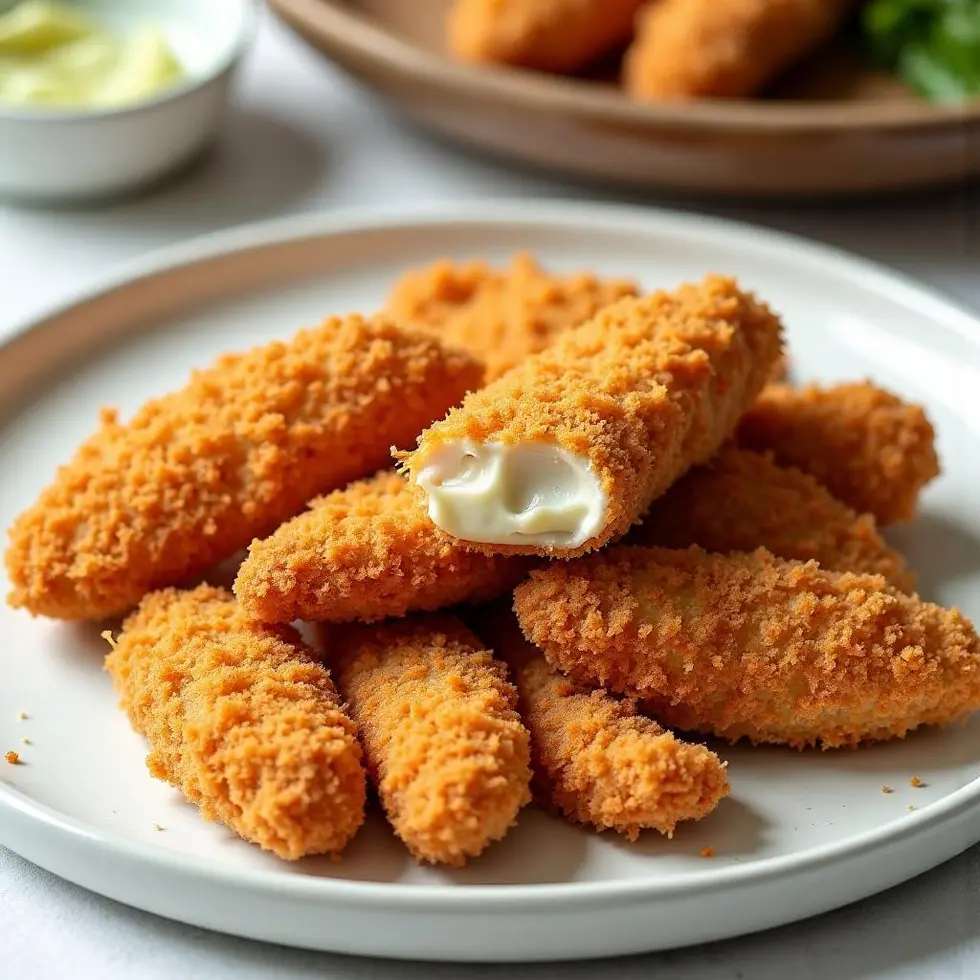
These tenders pair well with any sauce that balances richness with acidity or sweetness. Honey mustard, ranch, and garlic aioli are the most common choices, but hot honey adds a sweet-spicy contrast that complements the smoked paprika in the coating. Masala Monk offers a hot honey version if you want to explore that flavor pairing in more detail. Tangy barbecue sauce or a squeeze of lemon also works, especially if you prefer a lighter finish.
Serve the tenders immediately after resting. The coating is crispest within the first five minutes, and it softens as it cools. If you are serving a crowd, keep finished batches warm in a 200°F / 95°C oven on a wire rack so air can circulate around them. Do not cover them with foil — trapped steam will soften the panko.
Freezing Cooked Tenders and Reheating
Cooked tenders freeze well for up to two months. Let them cool completely, then arrange them in a single layer on a parchment-lined baking sheet and freeze until solid. Transfer to a freezer-safe bag or container. Freezing them individually first prevents them from sticking together in a block.
Reheat frozen tenders directly in the air fryer at 375°F / 190°C for 8 to 10 minutes, flipping halfway. Do not thaw them first — the coating will absorb moisture and turn soggy. The air fryer re-crisps the panko better than a microwave or oven because it circulates hot air around the frozen surface, driving off any ice crystals and reheating the chicken evenly. If you prefer to make a large batch, freeze half immediately after cooking and reheat as needed throughout the week.
If the coating looks dry after reheating, a light brush of olive oil before the second round in the air fryer restores some shine and crispness.
Why Spacing the Basket Matters Most
The single factor that decides whether these tenders turn out crisp or steamed is how much space you leave between each piece in the basket. Hot air must flow freely around every surface. If you pack the basket tightly, the air cannot reach the underside of the chicken, and moisture released during cooking has nowhere to go. That trapped steam softens the panko instead of letting it crisp.
Arrange the tenders in one layer, leaving at least half an inch between them. If your air fryer basket is small, cook in two rounds rather than stacking. The second batch will finish just as quickly because the basket stays hot between rounds, and you will end up with evenly golden tenders instead of half-crisp, half-soggy pieces. The basket design is what makes this chicken tenders recipe air fryer method reliable — but only when you give the machine room to work.
Frequently Asked Questions
Can I use chicken breast instead of tenders?
You can, but you will need to slice the breast into strips about half an inch thick so they cook through in the same time. Thicker pieces require a lower temperature and longer cooking, which risks drying out the coating. Tenders are already the right size and thickness, which is why they work so well in the air fryer.
Do I need to spray the basket with oil?
Most air fryer baskets are nonstick, so you do not need to spray them. The olive oil brushed onto the chicken is enough to prevent sticking. If your basket tends to stick, a very light spray of neutral oil works, but avoid cooking spray with lecithin or propellants — they can leave a residue that builds up over time.
Why is my coating falling off during cooking?
The panko was not pressed firmly enough onto the oiled chicken, or the chicken was too wet when you applied the coating. Pat the tenders completely dry before brushing on the olive oil, then press the panko mixture onto each piece with your hands so it adheres. Avoid shaking the tenders in a bag — direct pressing gives better contact.
Can I cook frozen chicken tenders in the air fryer?
Raw frozen tenders need to thaw first so the coating adheres evenly. Cooked frozen tenders, like leftovers you froze earlier, can go straight into the air fryer at 375°F / 190°C for 8 to 10 minutes. Do not coat raw frozen chicken — the ice will melt and make the panko soggy before the chicken cooks through.
How do I adjust cooking time for different air fryer models?
Start with 400°F / 200°C for 10 minutes, then check the color and internal temperature. If the coating is browning too fast, lower the temperature to 375°F / 190°C and add two more minutes. If it is still pale at ten minutes, increase to 12 minutes. Air fryers vary in fan power and basket design, so visual cues and a thermometer are more reliable than a fixed timer.
Chicken Tenders
Ingredients
Method
- Preheat the air fryer to 400°F / 200°C for 3 minutes.
- Brush the chicken tenders with olive oil, then coat evenly with panko, Parmesan, garlic powder, smoked paprika, and black pepper.
- Arrange the tenders in a single layer in the air fryer basket without overlapping.
- Air fry at 400°F / 200°C for 10 to 12 minutes, flipping halfway, until golden and cooked to 165°F / 74°C at the thickest part.
- Check at 10 minutes — the coating should be golden brown and crispy, add 2 more minutes if needed.
- Rest for 2 minutes before serving to keep the coating crisp and juices inside.
