
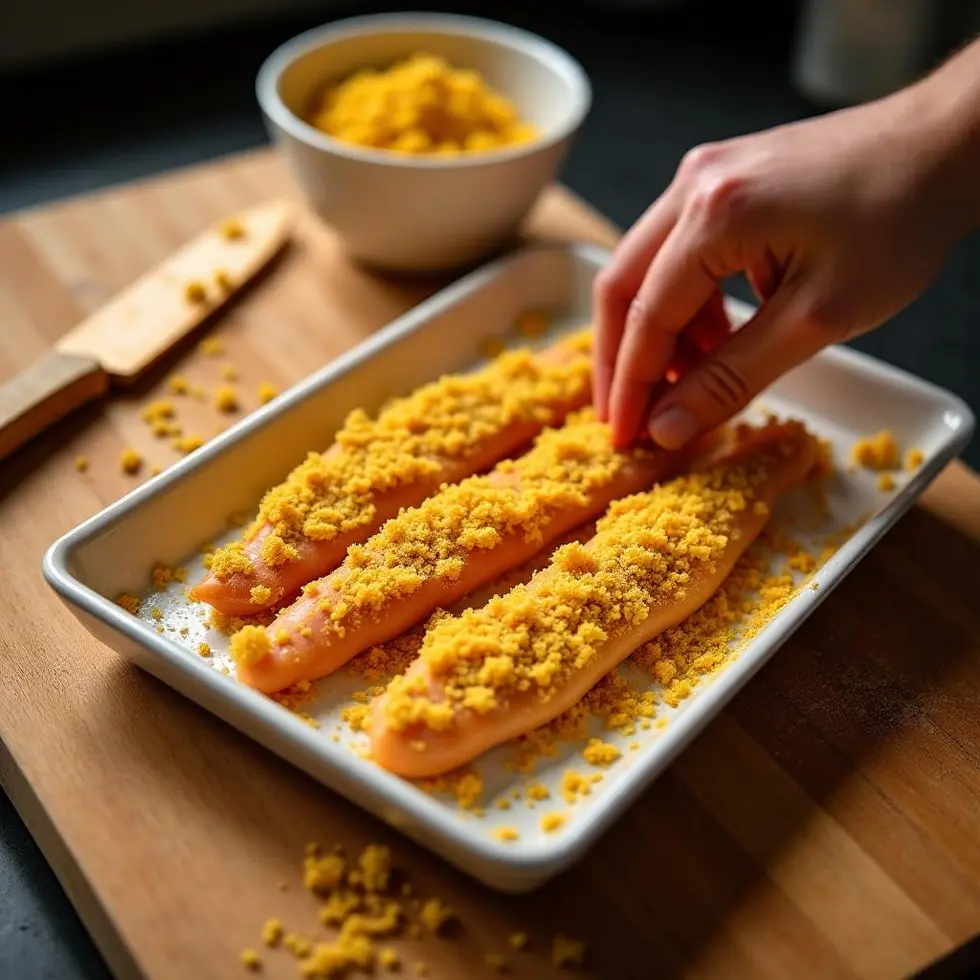
I pressed panko into the cornstarch-coated chicken strips until every edge had texture, and the skillet gave them a golden crust that stayed crunchy even after wrapping.
The restaurant-style appeal of a well-made chicken wrap comes from a coating that holds its texture against moisture. Cornstarch creates a thin, dry surface that lets panko breadcrumbs adhere firmly, and the two layers together form a barrier that resists steam from the lettuce and sauce. Without that dual coating, the breading softens within minutes of assembly.
This crispy chicken wrap recipe uses chicken breast strips instead of whole pieces, which shortens the pan time and gives you more coated surface area per bite. The five-minute rest on a wire rack after cooking allows steam to escape without turning the bottom soggy, and warming the tortillas just before rolling makes them pliable enough to fold without cracking.
What Makes a Chicken Wrap Crispy
The Coating System That Protects Texture
Cornstarch dries the surface of the chicken, which lets the panko press into the meat and stay attached through the entire cook. A wet surface would steam the breadcrumbs during the first few minutes in the skillet, creating a gummy layer instead of a crunchy coating.
Panko breadcrumbs have a coarser grain than standard breadcrumbs, which means more air pockets and less surface contact with the chicken. Those air pockets crisp faster and hold their structure longer, even when the wrap is assembled and held for a few minutes before eating.
Garlic powder and smoked paprika go into the cornstarch layer rather than being mixed into the panko. This placement ensures the spices touch the chicken directly, where moisture pulls them into the meat during cooking, rather than sitting on the outside where they can burn before the chicken reaches temperature.
How Temperature Protects the Crust
Medium-high heat — around 375°F to 400°F if you measure the skillet surface — sets the panko quickly without leaving time for the chicken to release moisture. If the skillet is too cool, the chicken steams instead of searing, and the coating absorbs liquid before it has a chance to brown.
Each strip cooks for 8 to 9 minutes per side, which is long enough to reach 165°F / 74°C at the thickest part without overcooking the thinner edges. Chicken breast strips vary in thickness, so use a thermometer in the center of the thickest piece rather than relying on color alone.
Transferring the cooked strips to a wire rack instead of a plate keeps air moving around all sides. A plate traps steam underneath, softening the bottom crust within a minute or two. The five-minute rest also lets the internal temperature stabilize, which reduces the amount of juice that runs out when you bite into the wrap.
How to Build the Perfect Chicken Wrap
Warming the Tortilla Without Drying It
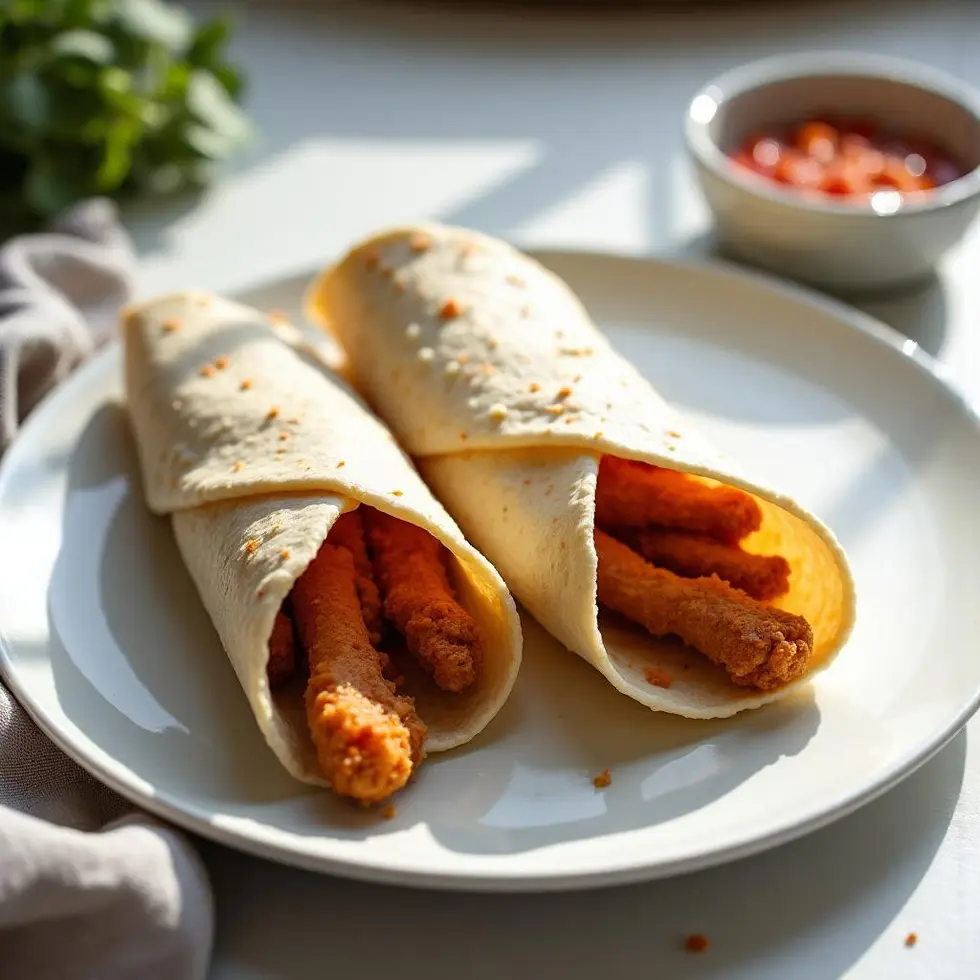
A cold tortilla cracks at the fold lines, especially if it has been refrigerated. Fifteen seconds in a dry skillet or microwave makes the tortilla pliable without adding moisture or grease. If you warm it too long, the edges dry out and become brittle.
Spread the sauce in a thin, even layer across the center third of the tortilla, leaving the outer edges dry. Wet edges prevent the wrap from sealing, and excess sauce will squeeze out during rolling, which softens the chicken coating on contact.
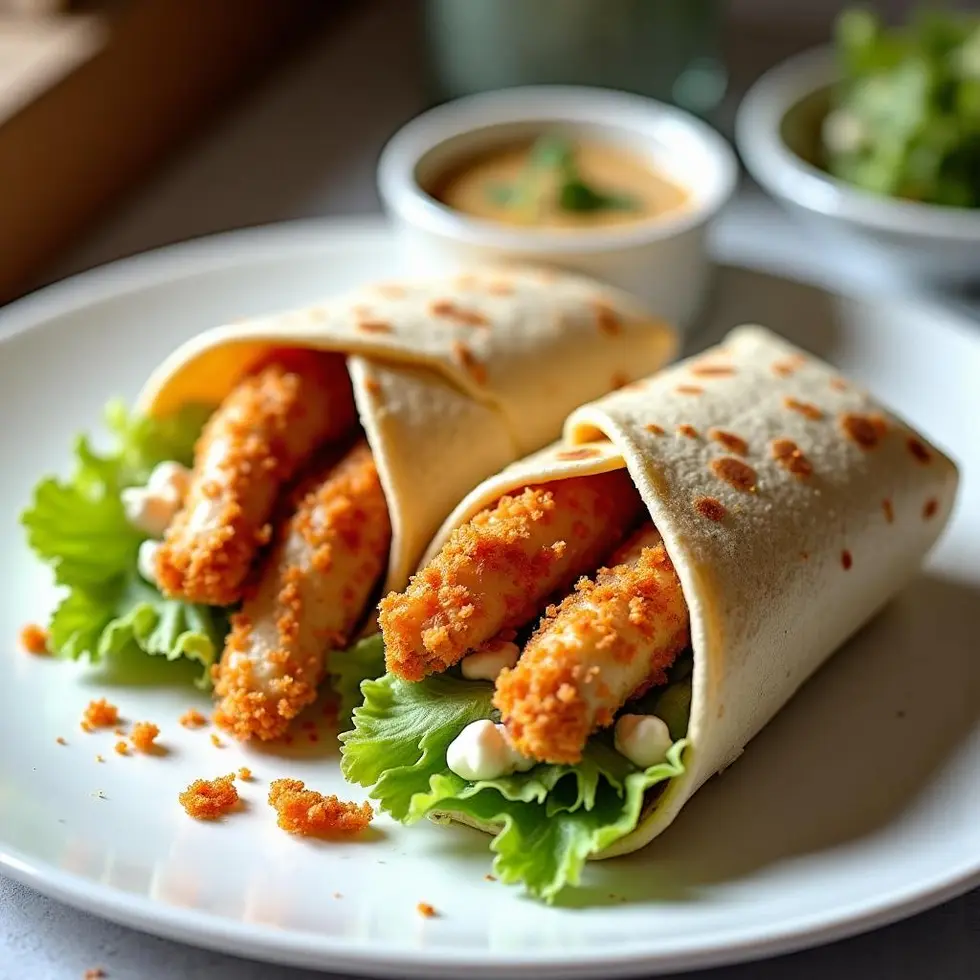
Place the lettuce on top of the sauce, then add the chicken strips in a single line down the center. This order keeps the lettuce between the sauce and the chicken, which slows moisture transfer and gives you a few extra minutes of texture before serving.
The Fold That Holds Everything
Fold the left and right sides of the tortilla inward first, covering about an inch of the filling on each side. Then fold the bottom edge up and over the filling, pulling gently toward you to tighten the wrap as you roll. A loose roll leaves gaps where sauce can leak, and a roll that is too tight compresses the chicken and squeezes out the filling.
Slice the wrap in half on a diagonal with a sharp knife in one smooth motion. Sawing back and forth drags the filling and tears the tortilla. The diagonal cut exposes the layers and makes the wrap easier to handle, especially for chicken wraps for lunch that need to hold together in a container.
Serve the wrap immediately after cutting. The longer it sits, the more moisture from the lettuce and sauce migrates into the coating. If you need to hold the wraps for more than five minutes, wrap each one tightly in parchment paper or foil to slow moisture movement, though texture will still soften over time.
Sauce Ideas and Easy Variations
Adjusting the Sauce Base
The mayonnaise and hot sauce combination in this recipe creates a tangy, slightly spicy crispy chicken wrap sauce that balances the richness of the fried coating. You can replace half the mayonnaise with plain yogurt for a lighter sauce with more acidity, or mix in a tablespoon of honey if you prefer a sweet-and-spicy flavor.
For a thicker sauce that clings to the chicken instead of running, add a teaspoon of Dijon mustard or a tablespoon of sour cream. Both options add body without watering down the flavor. Simply Whisked uses peanut butter and soy sauce in their version, which gives the wrap a completely different profile if you want to move away from the creamy base.
If you want to add garlic flavor to the sauce, use fresh minced garlic rather than garlic powder. Fresh garlic has a sharper bite that cuts through the fat in the mayonnaise, while garlic powder can taste flat when mixed into a cold sauce.
Variations That Change the Texture
Swap shredded lettuce for thinly sliced cabbage if you want more crunch and less moisture. Cabbage holds its texture longer and releases less water, which helps protect the coating if the wraps need to sit for more than a few minutes.
Add pickled jalapeños, sliced tomatoes, or shredded cheese after the lettuce layer. Each addition changes the moisture level, so if you add tomatoes, slice them thinly and press out the seeds and gel before placing them in the wrap. The Cafe Delites crispy chicken wrap uses garlic sauce and pickles, which adds acidity without adding as much liquid as fresh tomatoes.
For a spicier version, add cayenne pepper to the cornstarch mixture or drizzle sriracha over the chicken just before rolling. Both options layer heat into different parts of the bite — cayenne integrates into the coating, while sriracha sits on the surface and hits immediately.
Rest the Chicken Before Rolling
The five-minute rest after cooking is not optional. Chicken strips cooked to 165°F / 74°C still hold a significant amount of internal heat, and that heat continues to push moisture toward the surface. If you wrap the chicken immediately, the steam condenses inside the tortilla and turns the coating soggy before you finish assembling.
A wire rack keeps air circulating on all sides, which pulls steam away from the chicken instead of trapping it. If you do not have a wire rack, place the strips on a plate lined with paper towels, but flip them once after two minutes to avoid creating a wet spot underneath. The resting time also makes the chicken easier to handle, since it cools just enough to stop burning your fingers during assembly.
Frequently Asked Questions
Can I make the chicken strips ahead of time?
You can coat and refrigerate the chicken strips up to four hours before cooking, but do not cook them in advance and reheat them. Reheating softens the panko coating and dries out the chicken. If you need to prep ahead, coat the strips and keep them covered in the fridge, then cook them just before assembling the wraps.
What is the best way to store leftover wraps?
Wrap each one tightly in parchment paper or foil and refrigerate for up to one day. The coating will soften in the fridge, but you can restore some texture by reheating the whole wrap in a 350°F oven for 10 minutes. Do not microwave assembled wraps, as the tortilla becomes rubbery and the chicken steams instead of crisping.
Can I use chicken thighs instead of breasts?
Yes, boneless skinless chicken thighs work well and stay juicier than breasts. Cut them into strips of similar size so they cook evenly. Thighs take about the same amount of time to reach 165°F / 74°C, but check the thickest part with a thermometer since the darker meat can look done on the outside before it reaches temperature inside.
Why does my panko fall off during cooking?
The cornstarch layer was probably too thin, or the chicken was still wet when you coated it. Pat the chicken strips completely dry with paper towels before tossing them in the cornstarch mixture, and press the panko firmly onto all sides so it adheres. Avoid moving the strips too early in the skillet — let the first side set for at least three minutes before flipping.
Can I bake the chicken instead of pan-frying it?
Yes, arrange the coated strips on a wire rack set over a baking sheet and bake at 425°F for 18 to 20 minutes, flipping halfway through. The coating will be golden but slightly less crunchy than pan-fried chicken. Spray the strips lightly with oil before baking to help the panko brown evenly.
Crispy Chicken Wrap
Ingredients
Method
- Toss the chicken strips with cornstarch, garlic powder, and smoked paprika until evenly coated, then press panko onto all sides.
- Heat avocado oil in a large skillet over medium-high heat and cook the chicken strips for 8 to 9 minutes per side until golden and cooked to 165°F / 74°C at the thickest part.
- Transfer the chicken to a wire rack and rest for 5 minutes.
- Mix mayonnaise and hot sauce in a small bowl until smooth.
- Warm the tortillas for 15 seconds each in a dry skillet or microwave.
- Spread the sauce on each tortilla, add shredded lettuce and crispy chicken strips, then fold the sides and roll tightly.
- Slice each wrap in half and serve immediately.
