
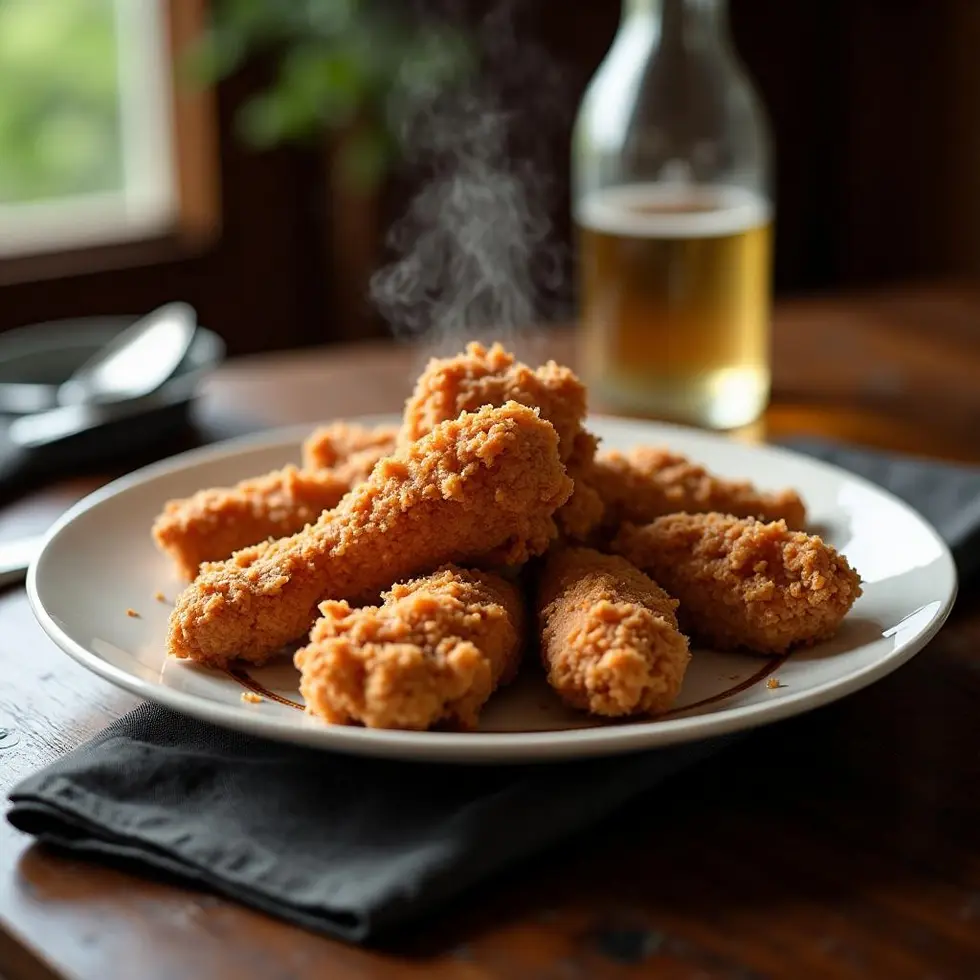
You’ve probably tasted fried chicken that shatters when you bite into it, revealing steam and perfectly seasoned meat underneath. Then you’ve gone home and made chicken that turned soggy ten minutes after frying, or stayed pale and flabby no matter how long it cooked.
The difference isn’t luck — it’s technique. A proper crispy fried chicken buttermilk recipe homemade relies on three levers: acid to tenderize, coating architecture to create texture, and temperature discipline to cook it through without burning the crust. Buttermilk does double duty here: its mild acidity breaks down muscle fibers while clinging to the chicken, creating a tacky surface that flour loves to grab.
Most home cooks skip the overnight soak or crowd the pan, which drops the oil temperature by 40°F in seconds. What follows is a southern style crispy fried chicken recipe broken into five clear steps — each one addressing a specific failure point you’ve probably encountered before.
The Double-Dredge Method: Unlocking Crispy Fried Chicken Perfection
Why Buttermilk Transforms Chicken From the Inside Out
Buttermilk contains lactic acid, which gently denatures surface proteins and allows salt to penetrate deeper than it would in plain water or yogurt. You’ll notice the meat relaxes and becomes slightly sticky after an hour — that’s the acid at work.
For optimal tenderness, submerge chicken pieces completely in buttermilk mixed with 1 tablespoon of salt per cup. Refrigerate for at least four hours, though overnight is ideal for thicker cuts like bone-in thighs. The salt seasons the protein itself, not just the crust, so every bite tastes seasoned through.
Pull the chicken from the fridge 30 minutes before cooking so it warms slightly — cold meat lowers oil temperature too fast and results in greasy coating.
Building Texture Through Layered Coating
The double-dredge creates shaggy, uneven surfaces that fry into ridges and peaks. Start with 2 cups all-purpose flour mixed with 1 tablespoon paprika, 2 teaspoons garlic powder, 1 teaspoon black pepper, and 1 teaspoon cayenne.
Dredge each piece in seasoned flour, dip back into buttermilk, then coat again in flour. Press firmly to build up clumps — those rough patches turn into the shattering bits everyone fights over. Let coated pieces rest on a wire rack for 10 minutes before frying; this sets the coating and prevents it from sliding off in the oil.
Professional cooks always double-dredge because single coats turn thin and slick, while this method locks in moisture and builds structure. Fried Chicken Ultimate 7-Step Crispy Homemade Victory Guide breaks down additional coating techniques if you want to experiment with cornstarch or rice flour for extra crunch.
5 Common Mistakes to Avoid When Making Crispy Fried Chicken at Home
Temperature Control: The Make-or-Break Factor
Most home cooks set the burner to high and never check the actual oil temperature, which swings wildly between scorching and lukewarm. Use a thermometer and hold steady at 325°F to 350°F (163°C to 177°C) — no guessing.
When you add cold chicken, the temperature will drop 30 to 50 degrees. Compensate by turning the heat up slightly for 30 seconds, then dial it back once bubbling resumes. Fry in small batches — never more than four pieces at once in a 12-inch skillet — so you can recover heat quickly.
Dark meat takes 12 to 14 minutes, white meat 10 to 12 minutes, flipping halfway through. The crust should turn deep amber, not blonde, before you pull it. Insert an instant-read thermometer into the thickest part without touching bone: you’re aiming for exactly 165°F (74°C), which ensures food safety while keeping the meat juicy.
Resting and Draining: Protecting Your Hard-Won Crust
Placing hot fried chicken on paper towels traps steam underneath, which softens the bottom crust within minutes. Instead, transfer pieces immediately to a wire rack set over a sheet pan — this allows air to circulate on all sides and keeps everything uniformly crunchy.
Let chicken rest for 5 to 7 minutes before serving. This resting period redistributes juices that have been pushed toward the surface by heat, preventing a flood when you bite in. Never cover with foil or a lid during this time — you’ll create a steam chamber that undoes all your work.
Crispy Fried Chicken – Gourmet Martha highlights additional draining techniques and troubleshooting tips if your coating keeps slipping or turning soggy halfway through service.
Spice Up Your Life: 3 Delicious Flavor Upgrades for Crispy Fried Chicken
Nashville Hot: Cayenne Oil Glaze
As soon as chicken comes out of the oil, brush it with a mixture of 4 tablespoons melted butter, 2 tablespoons cayenne pepper, 1 tablespoon brown sugar, and 1 teaspoon smoked paprika. The residual heat blooms the spices and caramelizes the sugar slightly, creating a lacquered, fiery crust.
This glaze clings without making the coating soggy because you’re applying it while the surface is still above 200°F. Serve with pickles and white bread to balance the heat — that’s the traditional Nashville approach.
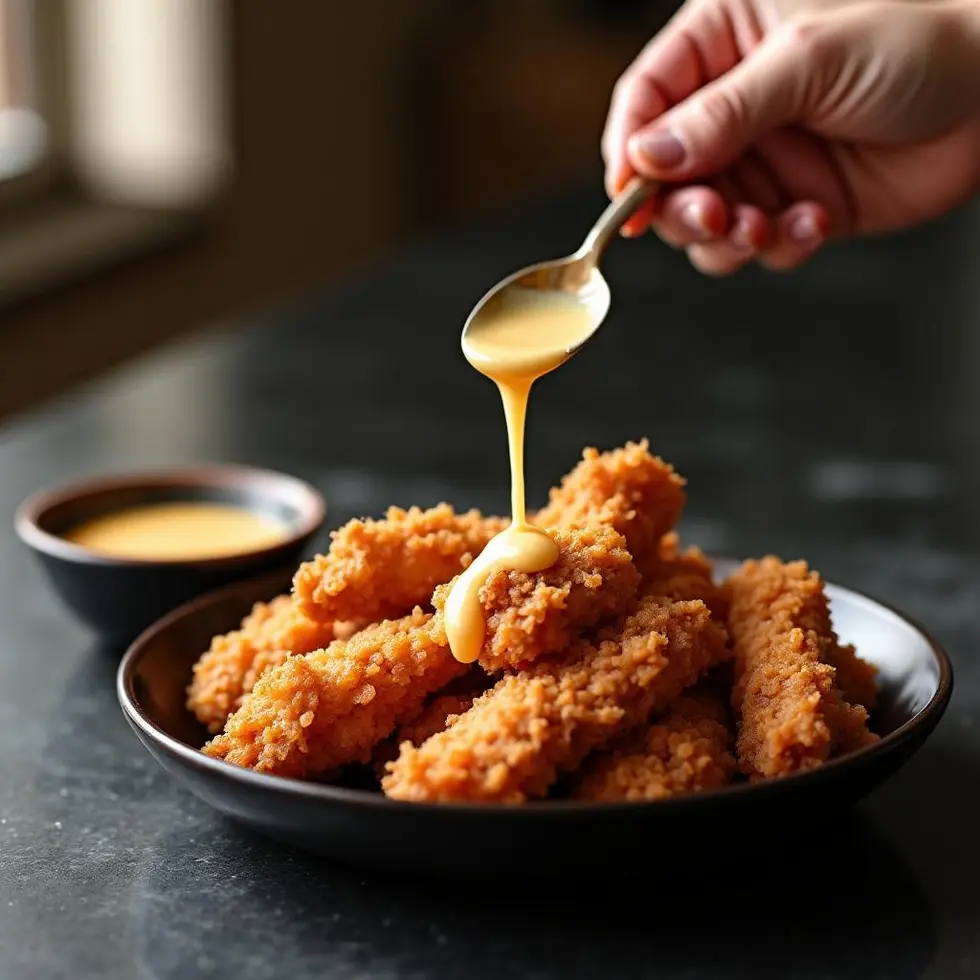
Honey-Garlic Drizzle and Herb Salt Finish
For a sweeter profile, whisk together 3 tablespoons honey, 2 tablespoons hot sauce, and 1 tablespoon minced garlic, then drizzle over rested chicken just before serving. The honey adds gloss and balancing sweetness without turning the crust sticky if applied at the last second.
Alternatively, toss fried chicken in a blend of 2 teaspoons flaky sea salt, 1 teaspoon dried thyme, and 1 teaspoon lemon zest for a bright, herbaceous finish. Both methods work because they season the exterior without introducing moisture that would compromise texture.
Crispy Buttermilk Fried Chicken (Overnight Brine) explores brining variations and additional spice rubs if you want to build your own signature blend.
Step-by-Step Breakdown for Perfect Execution
- Marinate: Combine 2 cups buttermilk with 1 tablespoon salt and 1 teaspoon black pepper, then submerge 3 pounds of chicken pieces for at least 4 hours, ideally overnight.
- Prepare coating: Mix 2 cups flour, 1 tablespoon paprika, 2 teaspoons garlic powder, 1 teaspoon cayenne, and 1 teaspoon salt in a shallow dish.
- Double-dredge: Coat each piece in flour, dip back into buttermilk, then press firmly into flour again; rest on a wire rack for 10 minutes.
- Fry: Heat vegetable oil to 325°F (163°C) in a heavy skillet or Dutch oven; fry 4 pieces at a time for 12 to 14 minutes, flipping halfway, until internal temperature reaches 165°F (74°C).
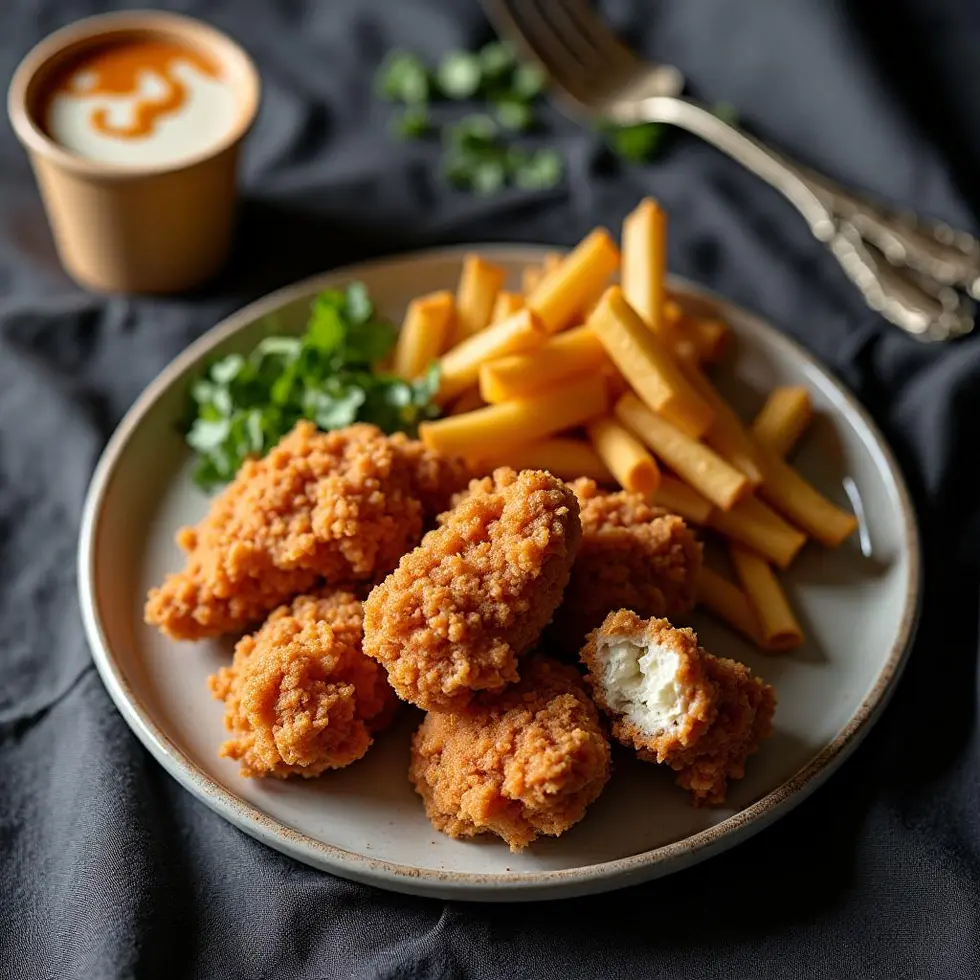
- Rest and serve: Transfer to a wire rack over a sheet pan and let rest 5 to 7 minutes before serving to lock in juices and preserve the golden-brown crust.
These five steps cover every critical decision point in making a crispy fried chicken buttermilk recipe homemade that rivals any restaurant version — no guesswork, just reliable technique.
Conclusion
The secret to a flawless southern style crispy fried chicken recipe isn’t a mystery ingredient — it’s respecting the science of acid, coating architecture, and temperature control. Buttermilk tenderizes, the double-dredge builds texture, and steady heat at 325°F to 350°F ensures even cooking without burning.
Try this recipe this weekend and pay close attention to the oil temperature and resting time. Once you nail those two variables, you’ll never settle for soggy, underseasoned chicken again — and you’ll understand why a proper crispy fried chicken buttermilk recipe homemade is worth the extra steps.
Frequently Asked Questions
Can I use regular milk instead of buttermilk for fried chicken?
Regular milk lacks the acidity needed to tenderize chicken and help the coating adhere. If you don’t have buttermilk, mix 1 cup of whole milk with 1 tablespoon of lemon juice or white vinegar and let it sit for 5 minutes — this creates a quick substitute that mimics buttermilk’s tenderizing power.
Why does my fried chicken coating fall off during cooking?
This happens when the coating is too wet or the chicken isn’t rested before frying. After double-dredging, let coated pieces sit on a wire rack for 10 minutes so the flour hydrates and adheres. Also, avoid moving the chicken too much in the first 3 minutes of frying — let the crust set before flipping.
How do I know when fried chicken is done without a thermometer?
While an instant-read thermometer reading 165°F (74°C) is the only reliable method, you can look for deep amber color and firm texture when you press the thickest part. The juices should run clear, not pink, but always verify temperature to ensure food safety, especially with bone-in cuts.
Can I make fried chicken ahead of time and reheat it?
Yes, but never use the microwave — it turns the crust rubbery. Reheat on a wire rack over a baking sheet in a 375°F (190°C) oven for 10 to 12 minutes. The circulating heat re-crisps the coating without drying out the meat, though fresh is always best for maximum crunch.
What oil is best for frying chicken at home?
Use a neutral oil with a high smoke point like vegetable, canola, or peanut oil. Avoid olive oil, which smokes at frying temperatures and imparts a bitter flavor. You need at least 2 inches of oil in your pan to maintain stable heat when chicken is added.
Crispy Fried Chicken
Ingredients
Method
- In a large bowl, combine the buttermilk, paprika, garlic powder, and salt. Add the chicken thighs and mix well to coat. Let rest for at least 30 minutes, or refrigerate overnight for deeper flavor.
- In a separate bowl, mix together the flour and cornstarch. Remove the chicken from the buttermilk mixture, letting any excess liquid drip off. Dredge the chicken in the flour mixture, shaking off excess.
- Heat the avocado oil in a large skillet to 350°F / 175°C — test with a wooden spoon, bubbles should form immediately. Fry the chicken for 5-6 minutes per side, or until the coating is deep golden brown and pulls away from the pan cleanly.
- Check with a meat thermometer — chicken is done at 165°F / 74°C at the thickest part. Rest on a wire rack for 5 minutes before serving — this redistributes the juices and keeps the coating from going soggy.
- Serve hot and enjoy!