
This is the kind of recipe I reach for when I want good food without a complicated process.
Most home cooks miss one of two things: they skip the marinade and wonder why their coating slides off, or they fry at the wrong heat and end up with soggy breading. This buttermilk chicken tender recipe fixes both mistakes with a 10-minute soak and one clear temperature target.
Buttermilk does two jobs here. It tenderizes the chicken and creates a sticky surface that holds the flour and panko mixture in place. The acidity breaks down the surface proteins just enough to let seasoning penetrate without turning the meat mushy.
You get juicy strips with a crunchy coating in under 30 minutes. The technique works because the marinade is short, the breading stays put, and the oil stays hot enough to set the crust without absorbing grease.
Why Buttermilk Makes Chicken Tenders Better
The Marinade Mistake Most People Make
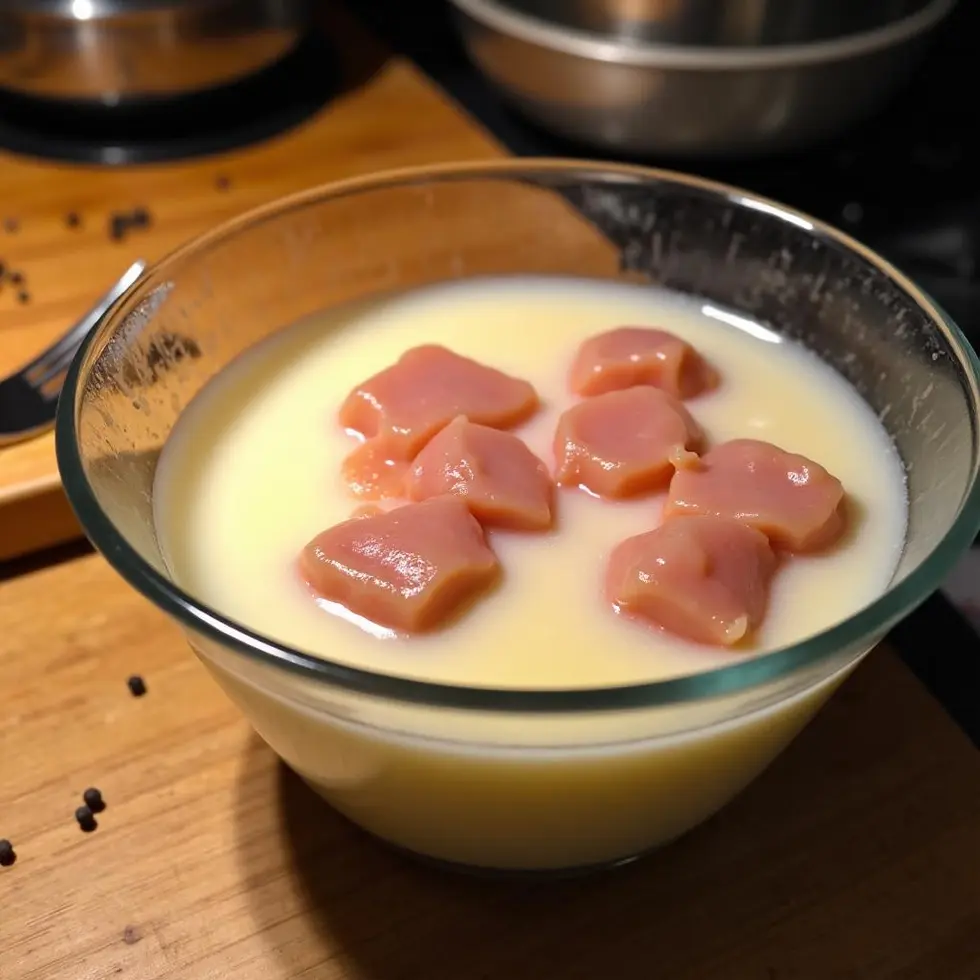
Marinating chicken tenders for hours sounds like it would add flavor, but it can actually turn the texture mushy. Buttermilk has enough acid to tenderize in just 10 minutes.
Mix the chicken with buttermilk, garlic powder, and smoked paprika, then refrigerate while you prep the breading station. The garlic adds depth without sharpness, and the smoked paprika brings a warm, smoky layer that complements the browned crust.
How Buttermilk Holds the Coating
Buttermilk clings to the surface of the chicken better than plain milk or water. When you press each tender into the flour and panko mixture, the wet layer grabs the dry ingredients and creates a thick, even shell.
The panko adds texture that all-purpose flour alone can’t deliver. Panko flakes are larger and create gaps that crisp up in hot oil, while the flour binds everything together and browns deeply.
This balance between sticky marinade and structured breading is what keeps the coating from falling off during frying.
How to Make Crispy Chicken Tenders
This buttermilk chicken tender recipe gives better results when the chicken cut, seasoning, timing, and resting step all work together.
The Right Oil Temperature
Heat avocado oil in a large skillet over medium-high until it shimmers but doesn’t smoke. If the oil isn’t hot enough, the breading soaks up grease and turns limp. If it’s too hot, the outside burns before the inside reaches 165°F / 74°C.
Drop a pinch of flour into the oil. If it sizzles immediately but doesn’t scorch, the temperature is right. This visual cue is faster than waiting for a thermometer and tells you when to add the chicken.
Frying Time and Doneness
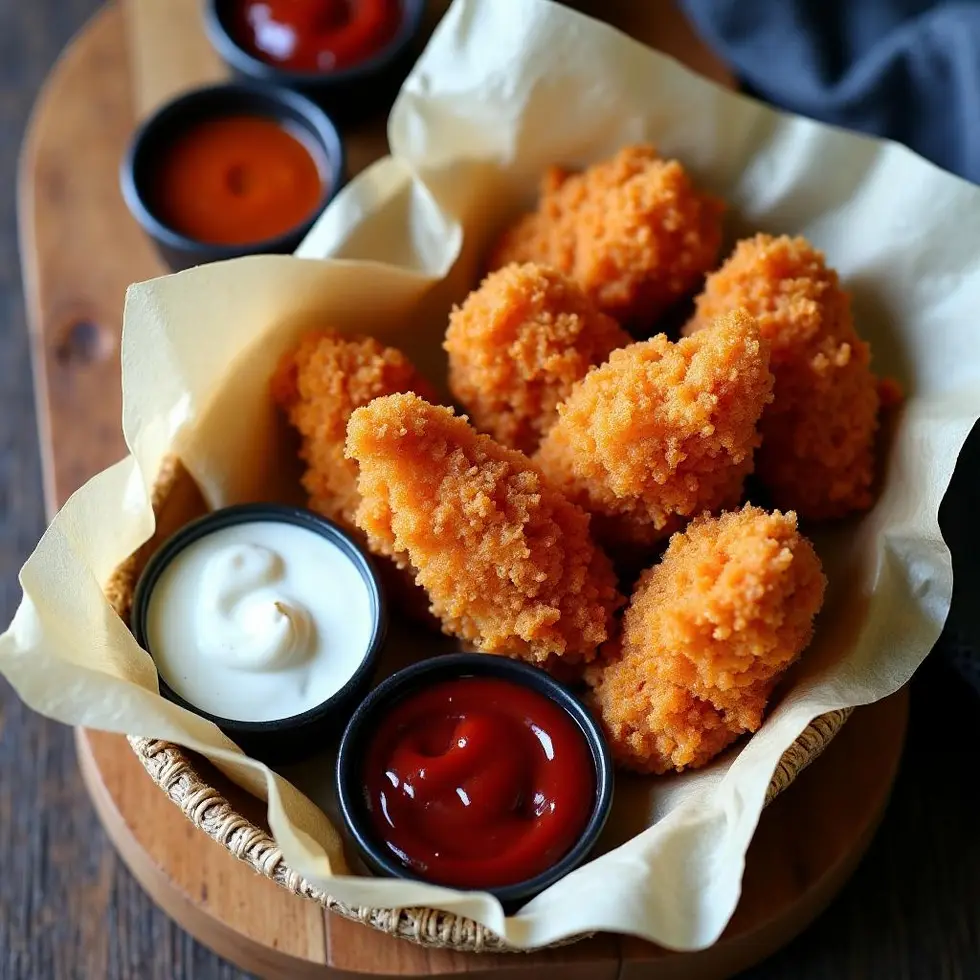
Fry each tender for 6 to 7 minutes per side. The coating should turn golden brown and feel firm when you lift the edge with tongs. Check the thickest part with an instant-read thermometer to confirm it has reached 165°F / 74°C.
Crowding the pan drops the oil temperature and causes steaming instead of frying. Work in batches if needed, and don’t flip the tenders more than once or the crust can crack.
Transfer finished pieces to a wire rack instead of a plate. The rack allows air to circulate underneath, which keeps the bottom from going soft. Let the tenders rest for 5 minutes before serving so the juices redistribute and the coating sets.
For more ideas on how to use chicken tenders, browse through these family-friendly chicken tender recipes that explore different coatings and seasonings.
Dipping Sauces and Storage Tips
What to Serve With Chicken Tenders
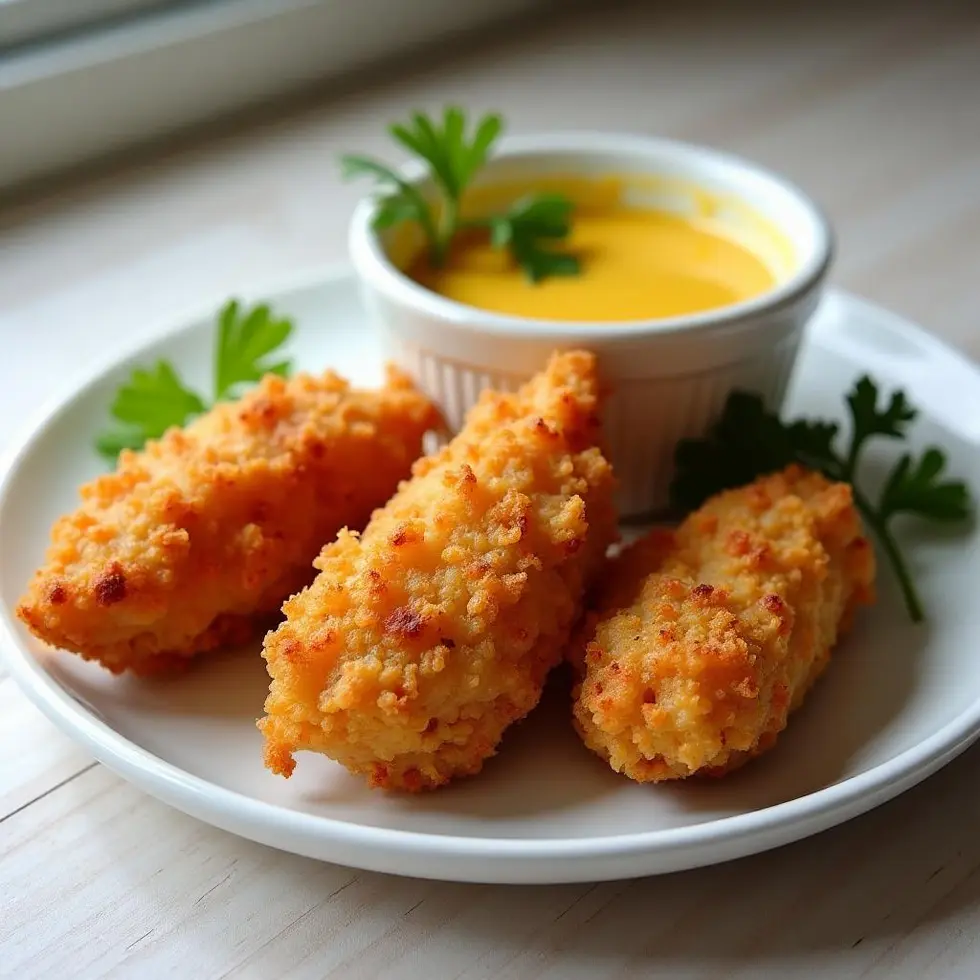
These tenders pair well with tangy sauces that cut through the richness of the fried coating. Honey mustard, ranch, and smoky barbecue sauce all work. For a spicier option, mix hot sauce with a bit of mayo and a squeeze of lime.
Serve the tenders with coleslaw, pickles, or a simple green salad. The acidity from the slaw or pickles balances the savory, golden-brown crust and makes the meal feel lighter.
How to Store and Reheat
Store leftover tenders in an airtight container in the refrigerator for up to three days. To reheat, place them on a wire rack set over a baking sheet and warm in a 375°F / 190°C oven for 10 minutes. This method revives the crunchy coating without drying out the chicken.
Avoid microwaving, which steams the breading and turns it rubbery. If you’re making these ahead for a party, fry them fully, let them cool, and refrigerate. Reheat just before serving so they taste freshly made.
If you want to explore a different frying method, this deep-fried chicken tender recipe offers a similar golden finish with a slightly different coating approach.
Quick Notes Before You Cook
Use a thermometer instead of guessing. Chicken tenders cook fast, and the difference between juicy and dry is often just a few degrees. Pull them at 165°F / 74°C and let carryover heat finish the job during the rest.
Don’t skip the wire rack. That single step protects the crust and keeps the texture intact. If you want homemade chicken tenders that stay crunchy from the first bite to the last, airflow matters as much as oil temperature.
Frequently Asked Questions
Can I use regular breadcrumbs instead of panko?
Yes, but panko creates a lighter, crunchier coating. Regular breadcrumbs work in a pinch, but the texture will be denser and the crust won’t have as much lift.
How do I keep the coating from falling off?
Let excess buttermilk drip off before breading, and press each tender firmly into the flour mixture. Give the breaded tenders a few minutes to set before frying so the coating adheres better.
Can I bake these instead of frying?
You can bake them at 425°F / 220°C on a wire rack for 18 to 20 minutes, flipping halfway. The coating won’t be as golden or crunchy, but it’s a lighter option that still tastes good.
What if I don’t have buttermilk?
Mix 1 cup of whole milk with 1 tablespoon of lemon juice or white vinegar. Let it sit for 5 minutes until it curdles slightly, then use it in place of buttermilk.
How do I know when the oil is hot enough?
Drop a pinch of flour into the oil. If it sizzles immediately without smoking, the temperature is right. If it burns quickly, lower the heat and wait a minute before adding the chicken.
Buttermilk Chicken Tenders
Ingredients
Method
- Combine chicken tenders, buttermilk, garlic powder, and smoked paprika in a bowl, cover, and refrigerate for 10 minutes.
- Mix flour, panko breadcrumbs, and black pepper in a shallow dish.
- Remove chicken from buttermilk, letting excess drip off, then press each tender into the flour mixture until fully coated.
- Heat avocado oil in a large skillet over medium-high heat until shimmering.
- Fry chicken tenders for 6 to 7 minutes per side until golden brown and cooked to 165°F / 74°C at the thickest part.
- Transfer tenders to a wire rack and rest for 5 minutes before serving with your favorite dipping sauce.