
Cornstarch crisped the coating faster than I expected, and the golden crust stayed crunchy even after I moved the chicken to the wire rack.
Boneless skinless breasts cook through in twelve minutes when you pound them to even thickness, which means the coating has just enough time to develop a golden-brown crust before the interior reaches 165°F / 74°C. The moisture escaping from the chicken never accumulates when you rest the pieces on a wire rack instead of a plate, so the crust stays crisp while the carry-over heat finishes the job.
This method fits well into a planned week because the coating takes five minutes, the pan work takes another twelve, and the resting step happens on its own while you assemble the rest of the meal. You can slice the chicken right away and fold it into wraps, or refrigerate whole breasts in a sealed container for up to four days and reheat individual portions in a skillet over medium heat without losing the crunchy coating. The crispy chicken breast recipe works best when you start with room-temperature chicken, dry the surface completely, and let the meat rest after cooking so the juices redistribute instead of running out onto the cutting board.
Why This Chicken Breast Gets Crispy
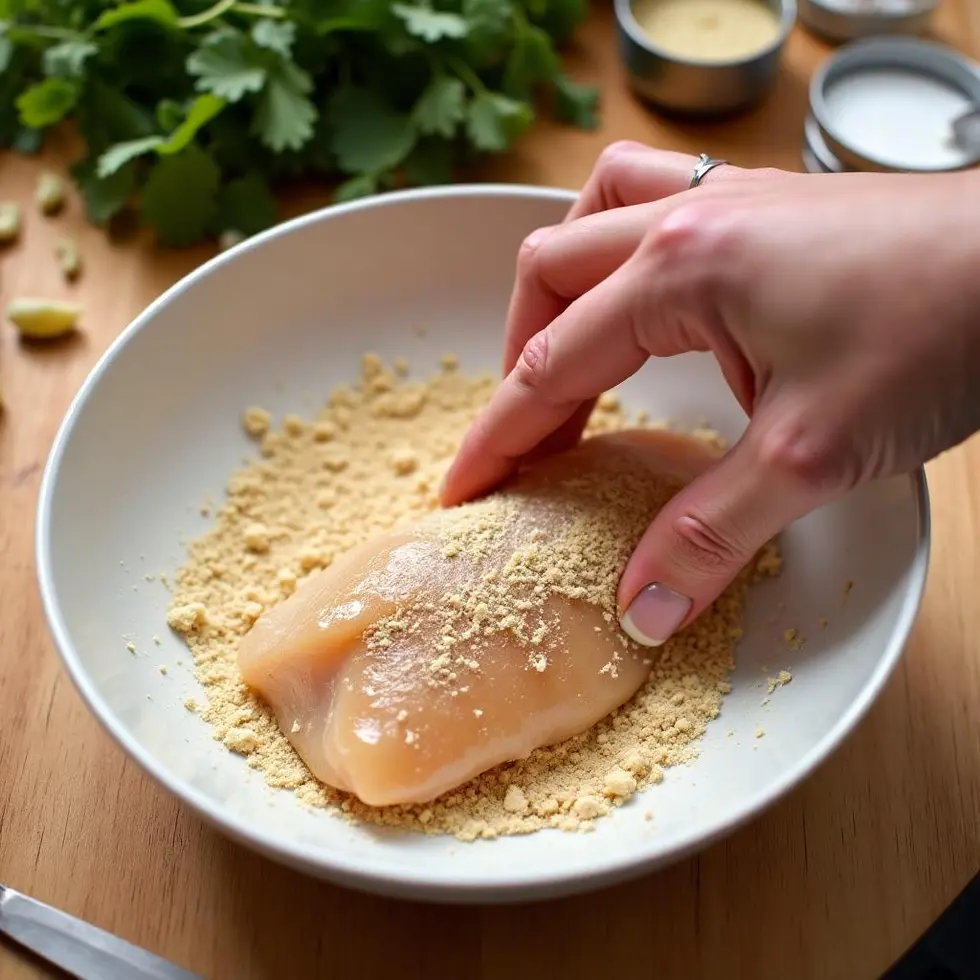
How Cornstarch Creates a Crunchy Coating
Cornstarch absorbs less oil than wheat flour and forms a lighter, more delicate crust when it hits the hot pan. The surface gelatinizes quickly, trapping a thin layer of air between the coating and the chicken, which prevents steam from softening the crust. Garlic powder, smoked paprika, and black pepper mixed directly into the cornstarch season every part of the coating instead of sitting only on the surface.
Pat the chicken breasts completely dry with paper towels before you coat them. Any residual moisture dilutes the cornstarch and creates a pasty layer instead of a crisp one. Season both sides with salt first, then press the cornstarch mixture onto the chicken so it adheres evenly. If you see bare spots, add another light dusting before the chicken goes into the skillet.
Why Even Thickness Matters
Pounding the chicken to an even thickness ensures the thin end and the thick end finish cooking at the same time. If you skip this step, the thin edge will dry out before the thick part reaches 165°F / 74°C. Place each breast between two sheets of plastic wrap or parchment paper, then use a meat mallet or the bottom of a heavy skillet to pound it to about three-quarters of an inch.
An instant-read thermometer inserted into the thickest part should read 165°F / 74°C when the chicken is done. The coating will turn golden brown a minute or two before the chicken reaches that temperature, so resist the urge to remove it early. Once you see the crust color deepen and the edges pull away slightly from the pan, check the temperature and pull the chicken as soon as it hits the target.
How to Cook Crispy Chicken Breast
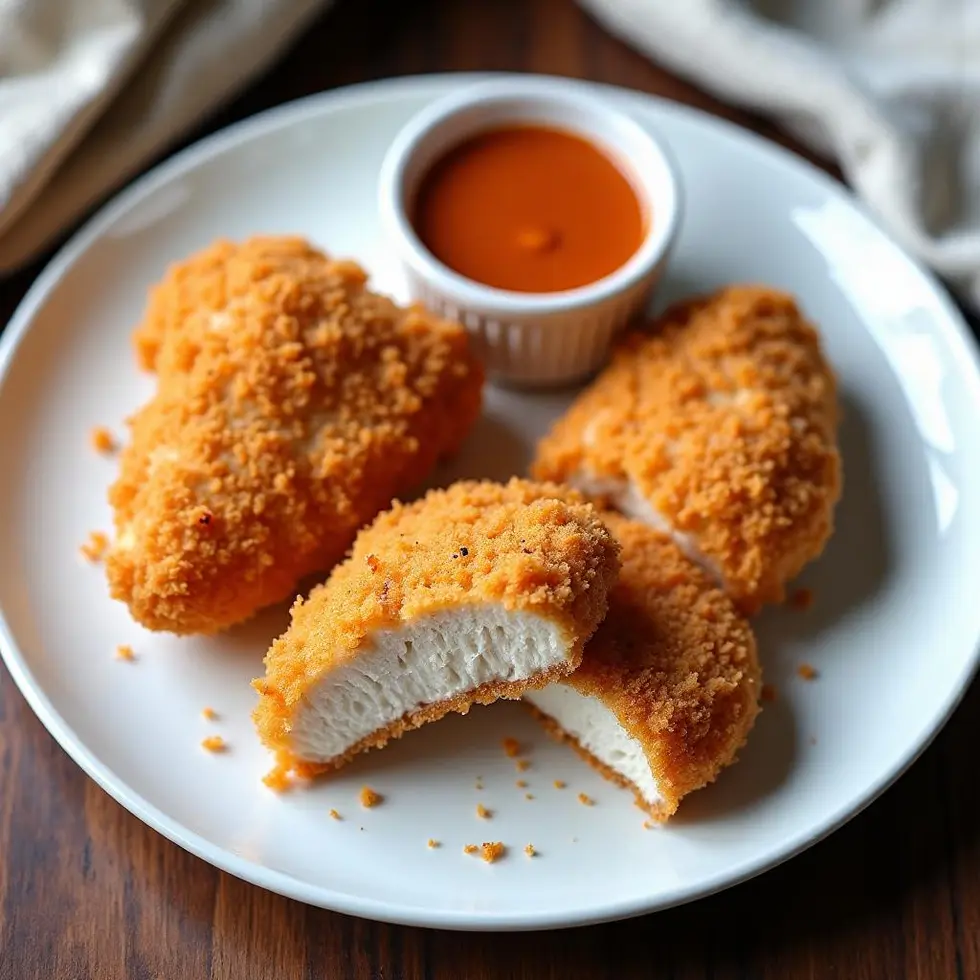
Temperature and Timing on the Stovetop
Heat two tablespoons of avocado oil in a large skillet over medium-high heat until it shimmers. You want the oil hot enough that a pinch of cornstarch sizzles immediately when it touches the surface, but not so hot that it smokes. If the oil begins to smoke, reduce the heat slightly and let it settle before adding the chicken.
Place the coated chicken breasts in the skillet without crowding them. If your skillet holds only two breasts comfortably, cook them in two batches instead of overlapping. Cook for five to six minutes on the first side without moving the chicken. The coating will release from the pan naturally once it forms a crust. Flip the breasts and cook for another five to six minutes on the second side, checking the internal temperature at the thickest part.
The method described by Once Upon a Chef for fried chicken sandwiches also relies on consistent heat and undisturbed cooking time to build a golden crust. The same principle applies here: you develop better texture when you resist the urge to flip the chicken too early or adjust the heat too often.
Resting Time and Why It Cannot Be Skipped
Transfer the cooked chicken to a wire rack set over a baking sheet as soon as it reaches 165°F / 74°C. Resting for five minutes allows the juices to redistribute throughout the meat instead of pooling on the cutting board when you slice. The wire rack keeps air circulating underneath the chicken, which prevents steam from softening the crust.
If you rest the chicken on a plate, the moisture trapped between the hot surface and the plate will make the bottom coating soggy. A wire rack solves this problem by lifting the chicken above the surface and letting excess moisture evaporate. After five minutes, the internal temperature will hold steady, and you can slice the chicken without losing any of the juices you worked to keep inside.
Serving Ideas, Sauces and Reheating Tips
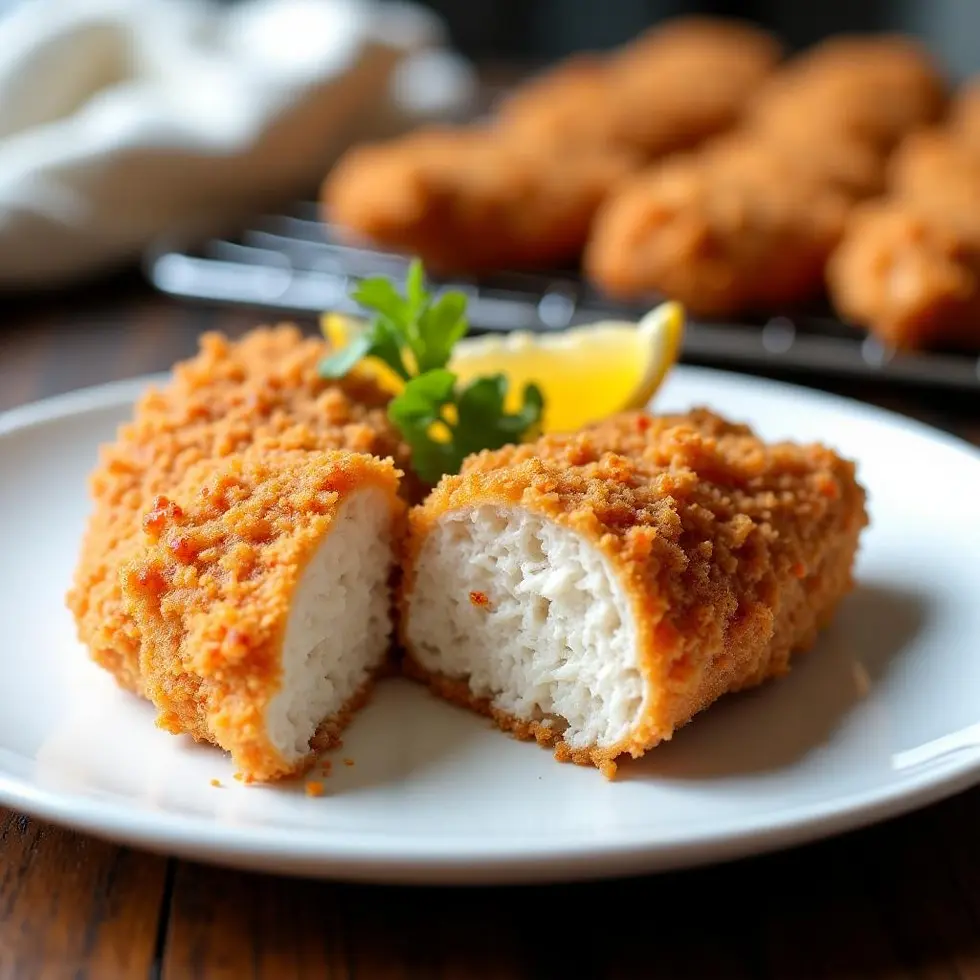
What to Serve with Crispy Chicken Breast
Sliced crispy chicken works well in wraps with shredded lettuce, diced tomatoes, and a drizzle of ranch or tahini sauce. You can also serve whole breasts over a simple green salad dressed with lemon vinaigrette, or alongside rice bowls with roasted vegetables and a spicy mayo.
For a heartier meal, pair the chicken with mashed potatoes and steamed broccoli. If you want a lighter option, serve it with a cucumber salad or coleslaw dressed with a tangy vinegar-based dressing. The crunchy coating contrasts nicely with creamy or acidic sides, so avoid pairing it with another fried or breaded component on the same plate.
If you enjoy a cheesy coating on chicken, the Olive Garden Parmesan Chicken Recipe offers a baked version with marinara and mozzarella, while this crispy chicken breast recipe stays lighter and faster by keeping the coating simple and the cooking method stovetop.
How to Store and Reheat Leftovers
Store cooked chicken breasts in an airtight container in the refrigerator for up to four days. Let the chicken cool completely before sealing the container, otherwise condensation will form and soften the coating. When you reheat individual portions, use a skillet over medium heat instead of the microwave. Heat each side for two to three minutes until the coating crisps up again and the chicken warms through.
You can also freeze cooked chicken breasts wrapped tightly in plastic wrap and placed in a freezer-safe bag for up to three months. Thaw them overnight in the refrigerator, then reheat in a skillet as described above. The coating will not be quite as crisp as when it was freshly cooked, but it will still hold together better than if you reheated it in the microwave.
The approach outlined by Cafe Delites for roast chicken emphasizes resting and temperature control, two principles that apply equally well here when you want to store and reheat chicken without drying it out.
Keep the Coating Dry and the Timing Tight
The crust stays crunchy when you dry the chicken thoroughly before coating it, cook it over steady medium-high heat, and rest it on a wire rack instead of a plate. Those three steps protect the texture you spent twelve minutes building in the skillet.
Refrigerate whole breasts in a sealed container for up to four days, then reheat individual portions in a skillet over medium heat for two to three minutes per side. The coating will crisp up again without drying out the interior, and you can slice it fresh for salads, wraps, or rice bowls throughout the week.
Frequently Asked Questions
Can I use flour instead of cornstarch for the coating?
All-purpose flour will create a thicker, heavier crust that absorbs more oil and takes longer to crisp. Cornstarch produces a lighter, more delicate coating that turns golden brown faster and stays crunchier after cooking. If you prefer a slightly thicker crust, you can mix equal parts flour and cornstarch, but the coating will not be as light.
How do I prevent the chicken from sticking to the pan?
Heat the oil until it shimmers before adding the chicken, and let the coating develop a crust before you try to flip it. The chicken will release naturally from the pan once the crust forms, usually after five to six minutes on the first side. If you try to flip it too early, the coating will tear and stick to the skillet.
Can I bake this chicken instead of pan-frying it?
You can bake coated chicken breasts on a wire rack set over a baking sheet at 425°F / 218°C for eighteen to twenty minutes, flipping once halfway through. The coating will crisp up, but it will not develop the same golden-brown color or crunchy texture as pan-fried chicken. Lightly spray the coated chicken with cooking oil before baking to help the crust brown.
How long can I store leftover crispy chicken in the fridge?
Cooked chicken breasts will keep in an airtight container in the refrigerator for up to four days. Let the chicken cool completely before sealing the container, and reheat individual portions in a skillet over medium heat to restore the crisp coating. Avoid reheating in the microwave, which will make the coating soggy.
What internal temperature should the chicken reach?
Chicken breasts must reach an internal temperature of 165°F / 74°C at the thickest part to be safe to eat. Use an instant-read thermometer to check the temperature before you remove the chicken from the pan. The coating will turn golden brown a minute or two before the chicken reaches the target temperature, so always confirm doneness with a thermometer.
Can I make this recipe ahead and reheat it later?
Cook the chicken completely, let it cool, and store it in the refrigerator for up to four days. Reheat in a skillet over medium heat for two to three minutes per side to restore the crisp coating. The texture will not be identical to freshly cooked chicken, but it will hold up much better than if you reheated it in the microwave.
Crispy Chicken Breast
Ingredients
Method
- Pat the chicken breasts dry and season both sides with salt, then coat evenly with cornstarch, garlic powder, smoked paprika, and black pepper.
- Heat avocado oil in a large skillet over medium-high heat until shimmering.
- Add the chicken breasts and cook for 5 to 6 minutes per side until golden brown and the internal temperature reaches 165°F / 74°C at the thickest part.
- Transfer to a wire rack and rest for 5 minutes before slicing.
- Serve with your favorite sauce, over salad, in wraps, or alongside rice bowls.
