
Soaking the tenders in buttermilk for just thirty minutes breaks down the surface fibers and yields strips that stay moist even after frying at 350°F.
Everything here relies on a shallow soak, a simple flour-and-panko coating, and straightforward skillet frying. You mix the dry ingredients in one dish, pull each tender from the buttermilk without squeezing it, press it into the coating until every ridge is covered, then slide it into hot oil. The total active time runs under fifteen minutes if the chicken is trimmed and your ingredients are ready. Refrigerator time adds thirty minutes, but your hands are free during that window.
Buttermilk delivers two advantages at once: its mild acid relaxes the muscle strands so the meat softens slightly, and its thickness clings to the chicken long enough to help the breading stick without needing an egg wash. The flour-panko blend stays light because panko holds less oil than fine breadcrumbs, and the smoked paprika colors the crust a shade darker than plain flour would.
When the tenders rest on a wire rack after frying, steam escapes from underneath instead of softening the coating. That five-minute pause also lets the juices redistribute, which means the first bite stays moist instead of dripping onto the plate.
Why Buttermilk Makes Chicken Tenders Better
How the Soak Affects Texture
Buttermilk holds enough lactic acid to gently denature surface proteins without turning the meat mushy. Chicken tenders are thin enough that a thirty-minute soak reaches the outer layer without requiring an overnight marinade. If you leave them longer than two hours, the texture can become spongy, so stick to the half-hour window for the best balance between tenderness and firmness.
The liquid also seasons the meat before the coating goes on. Salt dissolved in buttermilk migrates into the first few millimeters of muscle tissue, which means seasoning depth begins before the tender touches the flour. Foxes Love Lemons explains how buttermilk’s consistency coats chicken more evenly than thinner marinades, creating a better surface for breading to grab.
Why Panko and Flour Work Together
Flour creates adhesion, and panko supplies structure. Flour particles are small enough to fill the microscopic gaps on the chicken’s surface, forming a sticky base layer that holds the larger breadcrumb flakes in place. Panko breadcrumbs are drier and coarser than standard crumbs, so they fry into a crunchy shell without absorbing as much oil.
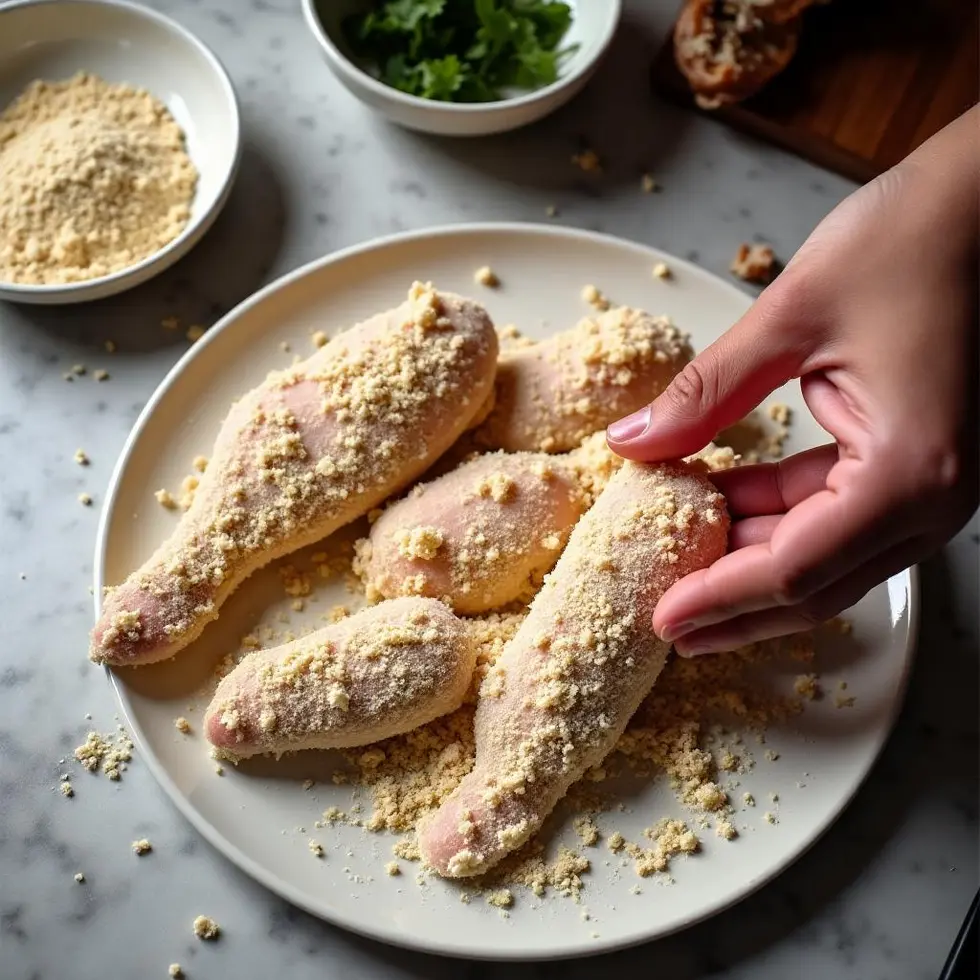
Garlic powder and smoked paprika blend into the dry mixture, which spreads their flavor across every coated surface. Black pepper adds a mild sharpness that cuts through the richness of fried chicken. The coating clings tightly when you press each tender into the flour mix, turn it over, and press again until no wet spots remain visible.
When you fry at the correct temperature, the coating sets quickly enough to trap moisture inside the chicken while crisping the outside. That temperature is 350°F / 175°C, measured with a kitchen thermometer clipped to the side of the skillet.
How to Make Crispy Chicken Tenders
Setting Up the Coating Station
Pour one cup of buttermilk into a shallow bowl wide enough to lay two tenders side by side. Place the chicken in the buttermilk, making sure each piece is submerged, then cover the bowl and refrigerate for thirty minutes. While the chicken soaks, combine one cup of all-purpose flour, half a cup of panko breadcrumbs, one teaspoon of garlic powder, one teaspoon of smoked paprika, and half a teaspoon of black pepper in a separate shallow dish.
Stir the dry ingredients until the color looks even throughout. Set a wire rack over a rimmed baking sheet next to the coating dish so you have a clean landing spot for the breaded tenders before they go into the skillet. When the soak time finishes, pull each tender from the buttermilk and let the excess drip back into the bowl for a few seconds.
Press the tender into the flour mixture, flip it, and press again. The coating should cover every surface with no wet patches showing through. If the flour begins to clump from absorbed buttermilk, stir it with a fork to break up the lumps.
Frying Temperature and Timing
Pour one-quarter cup of avocado oil into a large skillet and heat it over medium-high heat until it reaches 350°F / 175°C. A thermometer is the most reliable tool, but if you drop a pinch of flour into the oil and it sizzles immediately without smoking, the temperature is close. Lay the coated tenders into the skillet without crowding them—work in two batches if needed to leave at least half an inch of space between pieces.
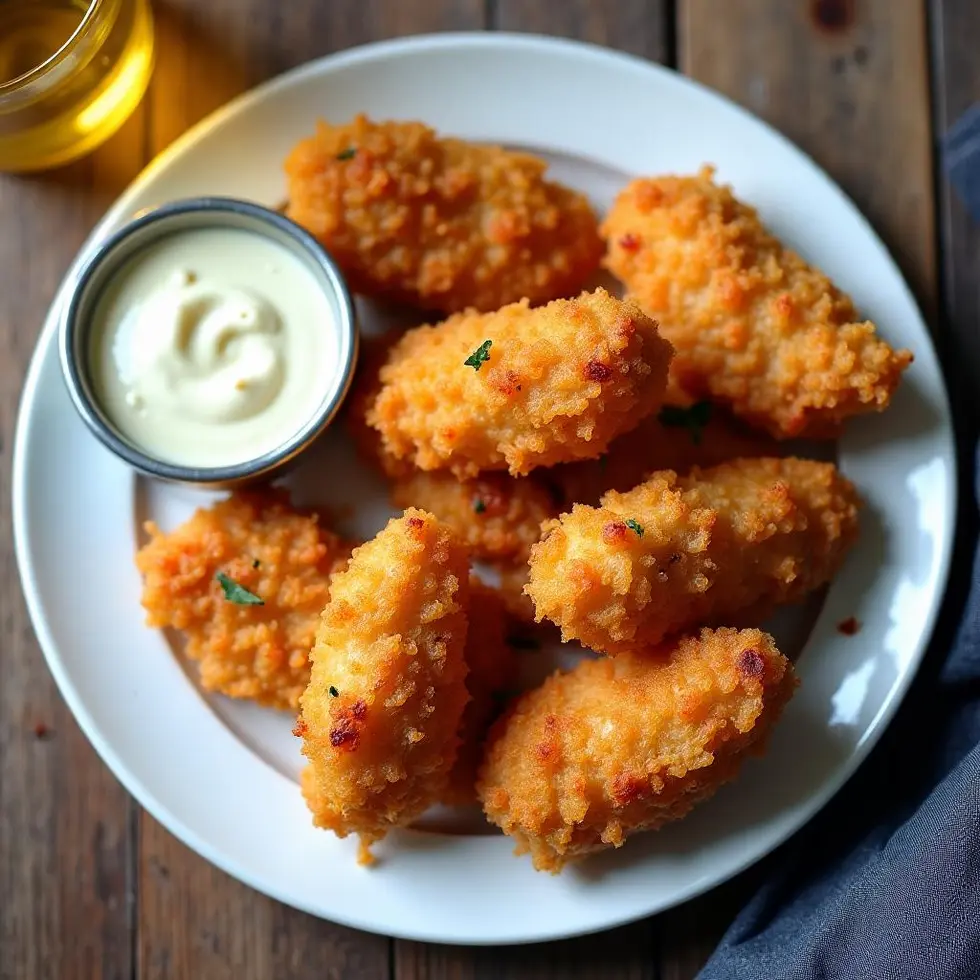
Fry each tender for six to seven minutes on the first side. You will see the edges turn golden brown and the coating firm up before you flip. Turn the tenders with tongs and fry for another six to seven minutes on the second side. The coating should reach a deep amber color, and the internal temperature at the thickest part of each tender should register 165°F / 74°C on an instant-read thermometer.
Transfer the finished tenders to the wire rack instead of a plate lined with paper towels. The rack allows air to circulate underneath, which keeps the coating from steaming and softening. Rest the tenders for five minutes before serving, because the residual heat finishes cooking the very center while the juices settle back into the muscle fibers.
Dipping Sauces and Storage Tips
Pairing with Sauces
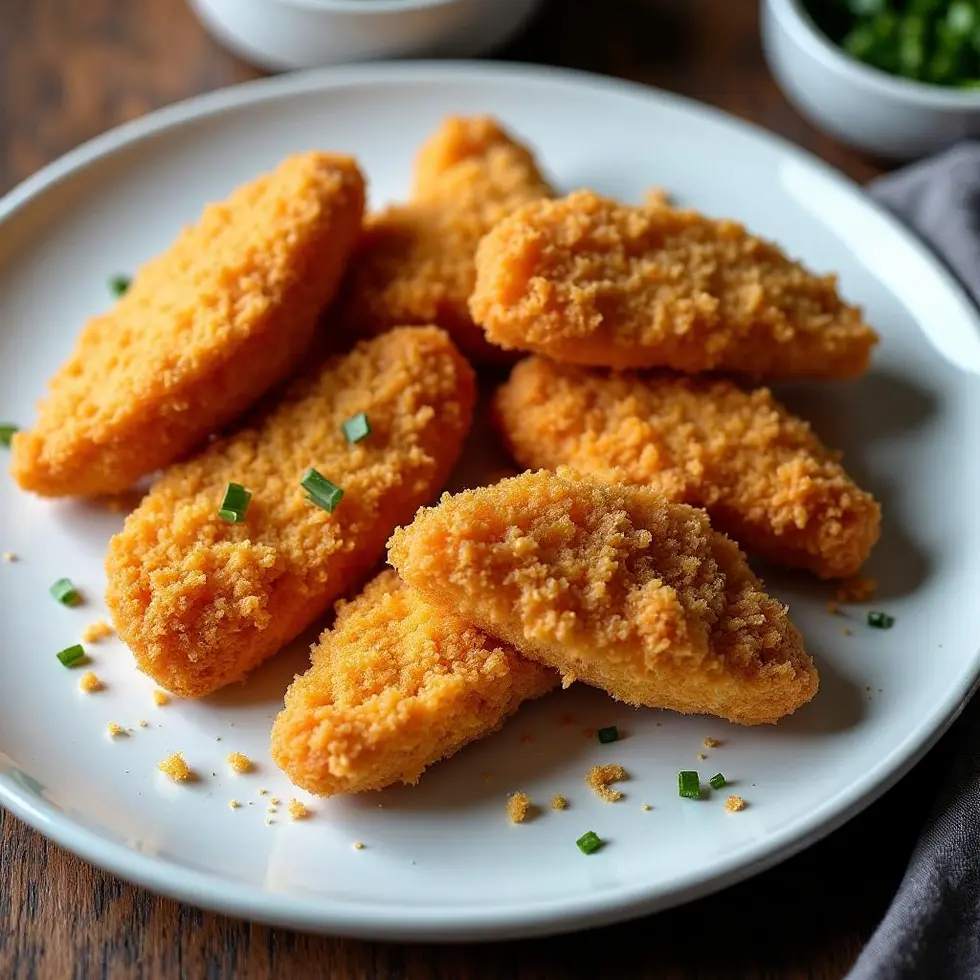
A simple honey mustard made from equal parts yellow mustard and honey balances the savory coating without overwhelming it. Ranch dressing adds a cool, herby contrast that complements the smoked paprika. Hot sauce mixed with a tablespoon of melted butter creates a mild buffalo-style dip that clings to the ridges of the breading. Choose one sauce or set out two for variety.
If you prefer a tangier option, mix three tablespoons of plain yogurt with one tablespoon of lemon juice and a pinch of garlic powder. The acid in the yogurt cuts through the fried coating the same way buttermilk softens the chicken. Serve the sauce in a small bowl on the side so each person can control how much they use.
Storing and Reheating Leftovers
Refrigerate leftover tenders in an airtight container for up to three days. The coating will soften slightly in the fridge, but you can restore some of the crunch by reheating the tenders in a 375°F / 190°C oven for eight to ten minutes. Place them on a wire rack set over a baking sheet so air reaches all sides, which prevents the bottom from turning soggy.
Avoid microwaving fried chicken if you want to preserve the texture, because microwave heat generates steam that makes the coating limp. If you plan to serve the tenders later the same day, keep them warm in a 200°F / 93°C oven on the rack until you are ready to eat. The low temperature maintains warmth without continuing to cook the meat or drying it out.
Most readers who follow this buttermilk chicken tender recipe find the coating holds up well for several hours at room temperature during a gathering, but the crunch is always best within the first thirty minutes after frying.
Resting Time Controls Moisture
The five-minute rest period is not optional. When chicken finishes cooking, the muscle fibers contract and push liquid toward the center. Cutting into a tender immediately releases that concentrated moisture onto the cutting board, leaving the meat drier than it needs to be. Resting gives the fibers time to relax and reabsorb some of the expelled juice, which distributes moisture more evenly from edge to center.
The wire rack underneath also plays a role beyond preventing sogginess. As the tenders rest, the internal temperature continues to climb by a few degrees from residual heat, which ensures the very center reaches a safe 165°F / 74°C even if your thermometer read slightly lower in the skillet. That final temperature equalizes across the whole piece during the resting window, so every bite is fully cooked and still juicy.
Frequently Asked Questions
Can I use regular breadcrumbs instead of panko?
Regular breadcrumbs will work, but they absorb more oil and produce a denser coating. Panko stays lighter and crunchier because the flakes are larger and drier. If you only have regular breadcrumbs, use the same half-cup measurement and expect a slightly softer texture.
How do I know when the oil is hot enough without a thermometer?
Drop a small pinch of the flour mixture into the oil. If it sizzles immediately and floats to the surface without smoking, the temperature is close to 350°F / 175°C. If the flour sinks or browns too quickly, adjust the heat and test again after a minute.
Can I bake these tenders instead of frying them?
Yes. Place the coated tenders on a wire rack over a baking sheet, lightly spray them with oil, and bake at 425°F / 220°C for eighteen to twenty minutes, flipping halfway through. The coating will be crunchy but lighter in color than fried tenders.
What if my buttermilk is too thick to coat the chicken evenly?
Buttermilk thickness varies by brand. If it is very thick, thin it with one or two tablespoons of water and stir until smooth. The consistency should resemble heavy cream so it clings without forming clumps.
Why did my coating fall off during frying?
The coating detaches when the chicken is still too wet or when the oil temperature is too low. Let excess buttermilk drip off each tender before pressing it into the flour mixture, and make sure the oil reaches 350°F / 175°C before adding the chicken. Avoid moving the tenders in the skillet until the first side has set.
How can I make the coating spicier?
Add one-quarter to one-half teaspoon of cayenne pepper to the flour mixture, or use hot smoked paprika instead of regular smoked paprika. Taste the dry mixture before coating the chicken to check the heat level, because spices intensify slightly during frying.
Buttermilk Chicken Tenders
Ingredients
Method
- Place chicken tenders in buttermilk and refrigerate for 30 minutes to tenderize.
- Mix flour, panko, garlic powder, smoked paprika, and black pepper in a shallow dish.
- Remove tenders from buttermilk, letting excess drip off, then coat each piece thoroughly in the flour mixture.
- Heat avocado oil in a large skillet over medium-high heat to 350°F / 175°C.
- Fry tenders for 6 to 7 minutes per side until golden brown and internal temperature reaches 165°F / 74°C.
- Transfer to a wire rack and rest for 5 minutes before serving with your favorite dipping sauce.
