
Anyone who’s cooked chicken thighs knows the struggle: soggy skin that refuses to crisp, or dry meat that tastes like cardboard. The air fryer solves both problems at once, using rapid hot air circulation to render fat while creating a golden, crackling exterior that rivals the best fried chicken — without a drop of deep frying oil.
The secret isn’t just the machine. It’s understanding how to position, season, and time your air fryer crispy chicken thighs easy for maximum browning. Most home cooks skip the preheat step or crowd the basket, and that single mistake costs them the texture they’re chasing.
Once you learn the five core techniques — from skin-drying tricks to the exact flip timing — you’ll never go back to oven-baked thighs. These air fryer chicken thighs recipes deliver restaurant-quality crunch in half the time, with zero stovetop splattering.
Mastering the Art of Air Fryer Crispy Chicken Thighs Easy
Why the Air Fryer Beats the Oven for Chicken Thighs
Conventional ovens heat from one direction, leaving the underside of your chicken thighs pale and rubbery. The air fryer surrounds each piece with 400°F (204°C) convection currents that hit every angle at once, rendering the subcutaneous fat while dehydrating the skin into shatteringly thin sheets.
This matters because chicken thighs have more intramuscular fat than breasts. That fat needs time to melt and baste the meat from within, but the skin needs high, direct heat to crisp before the interior overcooks. The air fryer’s compact chamber concentrates heat intensity, achieving both goals in 20 minutes — half the time an oven requires.
You’ll notice the difference in the first bite. Pan-fried thighs develop a thick, greasy crust. Air-fried thighs stay light and audibly crunchy, because the hot air continuously evaporates moisture instead of trapping it in oil.
Setting Up Your Air Fryer for Maximum Crispiness
Always preheat your air fryer for 5 minutes at 400°F (204°C) before adding chicken. A cold basket drops the chamber temperature by 50 degrees the moment you load it, delaying the Maillard reaction that creates browning. Preheating also prevents sticking, since proteins bond to cold metal but release from hot surfaces.
Pat your chicken thighs bone-dry with paper towels, then lightly spray — don’t brush — the skin with oil. Spraying distributes a thin, even mist that crisps without creating greasy puddles. Brushing applies too much oil in random patches, which fry unevenly and smoke at high heat.
Arrange thighs skin-side down first, leaving at least half an inch between each piece. Crowding blocks airflow, turning the air fryer into a steam oven. If you’re cooking more than four thighs, work in batches — the second batch cooks faster since the basket’s already hot. For more inspiration on 28 Quick Chicken Leg Recipes for the Air Fryer, check these proven techniques that use the same spacing principles.
Now that your setup is dialed in, the next step is mastering the cook sequence.
Common Mistakes to Avoid for Perfectly Cooked Chicken
The Flip Timing That Makes or Breaks the Skin
Most beginners flip too early, peeling away skin that’s still bonded to the basket. Wait exactly 12 minutes before flipping bone-in thighs at 400°F (204°C). At this point, the underside is deeply browned and releases cleanly, while the top side remains pale and needs direct heat.
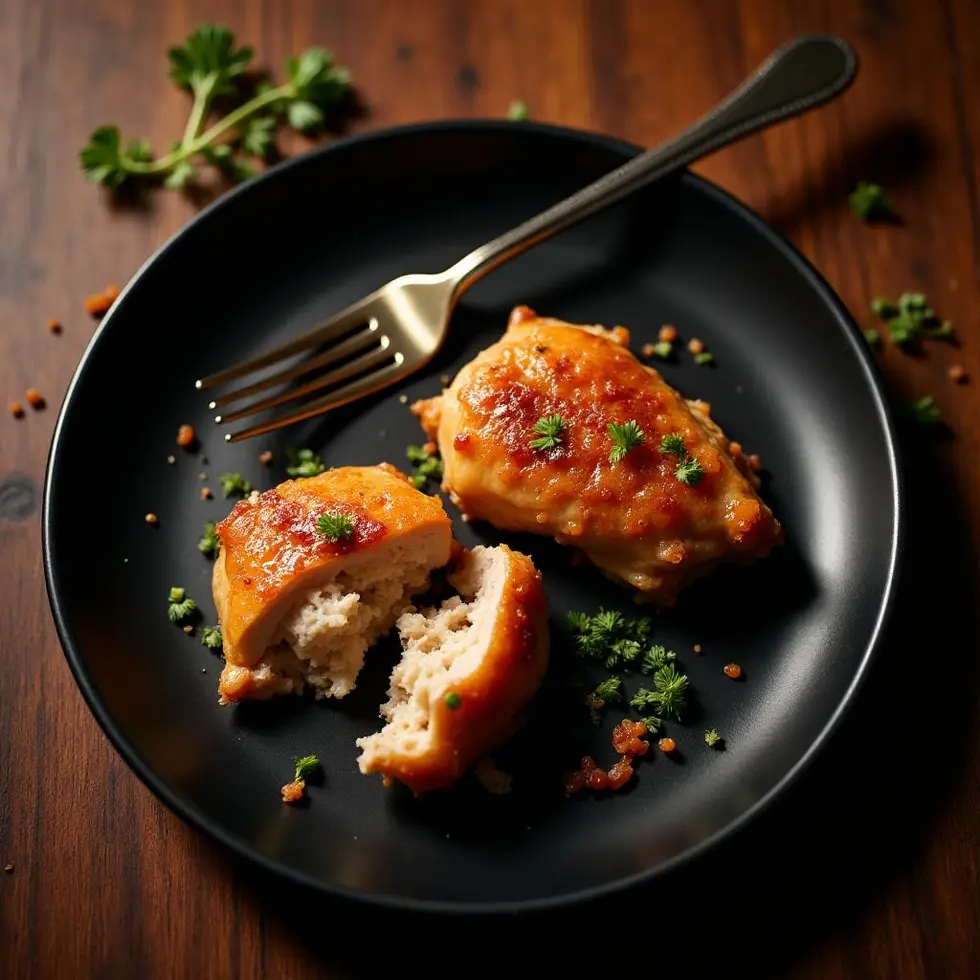
Use tongs to lift one thigh by the bone — never grab the skin. If it resists, give it 2 more minutes. Forcing a flip tears the skin and exposes wet meat that won’t crisp. Once flipped, cook for 8 minutes, then check for a mahogany color and an internal temp of 175°F (79°C) measured at the thickest part near the bone.
The reason this timing works is simple: thighs need longer than breasts because of their higher fat content. Undercooking leaves them rubbery; overcooking dries them out despite the fat. The 12-then-8 method hits the sweet spot every time.
Why Marinating Can Sabotage Your Texture
Wet marinades — even thin ones — add surface moisture that steams the skin instead of crisping it. Professional kitchens use dry rubs for air fryer chicken, combining salt, smoked paprika, garlic powder, and black pepper directly on the skin an hour before cooking. Salt draws out moisture through osmosis, creating a drier surface that browns faster.
If you’ve already marinated your thighs, scrape off excess liquid and let them air-dry in the fridge for 30 minutes. You’ll still get flavor from the spices that clung to the skin, but you’ll avoid the soggy-skin trap. For a complete guide to avoiding common pitfalls, explore Boneless Chicken Thigh Recipes Air Fryer – Amazing 20-Min Di that sidestep these issues.
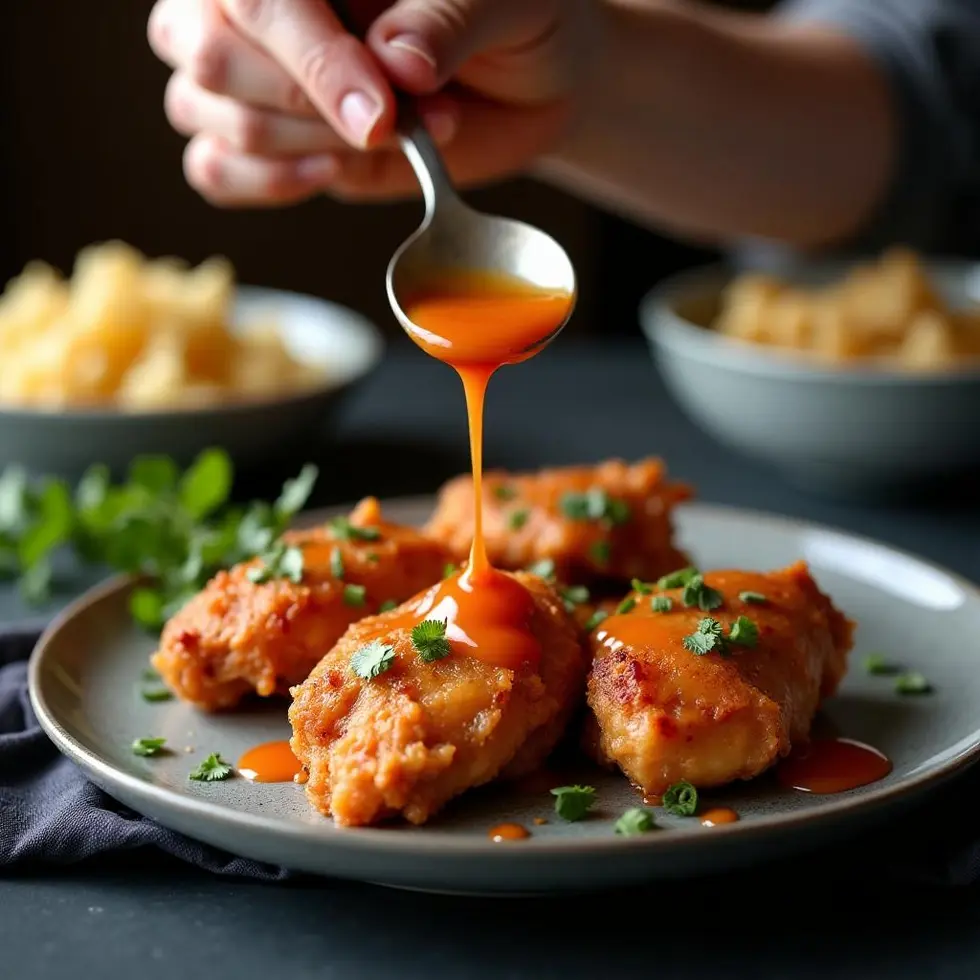
Another mistake is using thick, sugary glazes before cooking. Sugar burns at 350°F (177°C), turning black and bitter well before the meat finishes. Instead, brush glazes on during the final 2 minutes, or serve them as a dipping sauce.
- Preheat your air fryer to 400°F (204°C) for 5 minutes. A hot basket prevents sticking and jumpstarts browning the moment the chicken hits the surface.
- Pat thighs completely dry, then season with a dry rub. Salt, paprika, garlic powder, and pepper create a flavorful crust without added moisture.
- Spray skin lightly with oil — no brushing. A fine mist distributes evenly and crisps without smoking or pooling.
- Place thighs skin-side down with half an inch between each piece. Airflow is everything; crowding turns your air fryer into a steamer.
- Cook for 12 minutes, flip carefully, then cook 8 more minutes. Check at 18 minutes total — if skin isn’t golden, add 2 more minutes and check again.
Once you’ve nailed the basics, it’s time to explore how small tweaks transform your air fryer crispy chicken thighs easy recipe into something extraordinary.
5 Delicious Variations to Upgrade Your Air Fryer Chicken Thighs
How Different Air Fryer Models Affect Cooking Time
Basket-style air fryers circulate air from the top, cooking the upper surface faster. If you own one, start skin-side down and expect the first side to take slightly longer. Oven-style air fryers with rear fans distribute heat more evenly, so you can reduce total time by 2 minutes but should still flip once for uniform browning.
Wattage matters too. A 1700-watt unit reaches 400°F (204°C) in 3 minutes; a 1200-watt model takes 7 minutes and may cook 15% slower overall. Always preheat fully and check at the low end of the time range — it’s easier to add 2 minutes than to rescue dried-out meat.
If your thighs finish cooking but lack the deep golden color you want, crank the temperature to 425°F (218°C) for the final 2 minutes. This flash of high heat crisps the skin without drying the interior, a trick borrowed from rotisserie chicken techniques.
Five Flavor Combinations That Transform the Same Recipe
1. Lemon-Herb: Rub thighs with lemon zest, dried thyme, and cracked black pepper before cooking. The citrus oils amplify browning and cut through the richness.
2. Smoky Spice: Combine smoked paprika, cumin, coriander, and cayenne for a North African-inspired crust that tastes like open-fire grilling.
3. Garlic-Parmesan: Toss cooked thighs with grated Parmesan and minced fresh garlic in the last minute of cooking. The cheese melts into the crevices, adding umami without sogginess.
4. Sweet-Savory Glaze: Brush honey-mustard or pomegranate molasses onto thighs during the final 2 minutes. The heat caramelizes the glaze into a sticky shell.
5. Asian-Style: Season with ginger powder, five-spice, and a pinch of white pepper, then serve with sesame seeds and sliced scallions. The 5 Best Air Fryer Chicken Legs Recipe Tips for Crispy Perfect results use the same aromatics for restaurant-quality takeout flavor at home.
Each variation follows the same 12-minute-flip-8-minute timeline, proving the method is endlessly adaptable once you master the core technique.
Conclusion
The single most important takeaway is this: air fryer success hinges on surface dryness and proper spacing. You can have the best seasoning blend in the world, but if the skin is wet or the basket is crowded, you’ll never achieve the shatteringly thin, golden crust that makes air fryer crispy chicken thighs easy worth making.
Try the 12-flip-8 method this weekend — start with a simple dry rub, preheat your basket, and give each thigh breathing room. Then come back and share which of the five air fryer chicken thighs recipes variations you tried first. Once you hear that crackle on the first bite, you’ll understand why air fryers have replaced ovens for weeknight chicken in kitchens everywhere.
Frequently Asked Questions
Do I really need to preheat my air fryer for chicken thighs?
Yes — preheating for 5 minutes at 400°F (204°C) prevents sticking and ensures the skin starts browning immediately. Skipping this step adds 3–5 minutes to your total cook time and results in uneven color, because the basket takes longer to reach full temperature with cold chicken inside.
Can I cook frozen chicken thighs in the air fryer?
You can, but you’ll sacrifice texture. Frozen thighs release too much moisture as they thaw, steaming the skin instead of crisping it. Thaw overnight in the fridge, then pat dry before seasoning for the best results. If you must cook from frozen, add 8–10 minutes and flip twice instead of once.
Why does my chicken skin stick to the air fryer basket?
This happens when the basket isn’t preheated or when you flip too early. Proteins bond to cold metal but release from hot surfaces. Always preheat, and wait until the 12-minute mark to flip — the skin should lift cleanly by then. A light oil spray also creates a nonstick barrier.
How do I know when chicken thighs are fully cooked without a thermometer?
Pierce the thickest part near the bone with a knife — if the juices run clear with no pink tinge, they’re done. The meat should feel firm but not hard when pressed. For safety and accuracy, though, an instant-read thermometer reading 175°F (79°C) is the gold standard.
Can I stack chicken thighs in the air fryer to cook more at once?
Never stack them. Stacking blocks airflow, turning the bottom layer soggy and leaving the top layer undercooked. If you need to cook more than your basket holds in a single layer, work in batches — the second batch cooks faster since the basket stays hot.
Crispy Chicken Thighs
Ingredients
Method
- Preheat the air fryer to 400°F (200°C) for 2 minutes.
- In a bowl, mix together salt, black pepper, and paprika. Add the chicken thighs and coat evenly.
- Dip the coated chicken thighs in panko breadcrumbs, pressing gently to adhere.
- Brush the air fryer basket with 1 tsp of olive oil. Place the coated chicken thighs in the basket, leaving some space between each piece.
- Cook the chicken thighs in the air fryer at 400°F (200°C) for 12-15 minutes. Flip halfway through, at the 6-minute mark.
- Check at 12 minutes — the exterior should be golden brown and crispy. Add 2 more minutes if needed.
- Remove the chicken thighs from the air fryer and let them rest for 2-3 minutes before serving immediately.