
Bone-in, skin-on chicken thighs develop a burnished golden-brown crust in a skillet because their higher fat content prevents the meat from drying out before the skin crisps.
The skin itself transforms from pale and rubbery to taut and crackled when steady, uninterrupted contact with the hot pan renders its subcutaneous fat and dehydrates its outer surface. This chicken thigh pan recipe depends on three elements working together: moisture removal before cooking, controlled heat that allows collagen to soften, and resting time that redistributes juices before slicing. Spices rubbed directly onto dry skin penetrate the fat pockets beneath and form a crust as proteins on the surface brown through the Maillard reaction at temperatures above 300°F.
The method delivers dinner in under 35 minutes with minimal cleanup and holds well at room temperature for up to an hour if you need to stagger serving times.
Why Chicken Thighs Work Well in a Pan
Higher Fat Equals Better Temperature Tolerance
Chicken thighs contain approximately twice the intramuscular fat of chicken breasts, which insulates the protein fibers from rapid moisture loss. While breast meat begins to dry at 150°F, thigh meat remains juicy even when it reaches the safe internal temperature of 165°F / 74°C because the fat lubricates each muscle strand.
Dark meat also has more myoglobin, the protein that holds oxygen in muscle tissue. Myoglobin breaks down slowly, meaning thighs tolerate longer cooking without turning stringy.
Bone-In Skin-On Protects the Meat
The skin acts as a barrier that slows evaporation from the meat below. When heated, the collagen in the dermis shrinks and tightens, creating tension that forces moisture inward rather than allowing it to escape as steam.
The bone conducts heat more slowly than muscle tissue, creating a temperature gradient that keeps the center of the thigh from overcooking while the outer layers reach browning temperature. Bone-in thighs also hold their shape better during searing, preventing curling that would lift the skin away from the pan.
Skin Texture Depends on Dryness Before Cooking
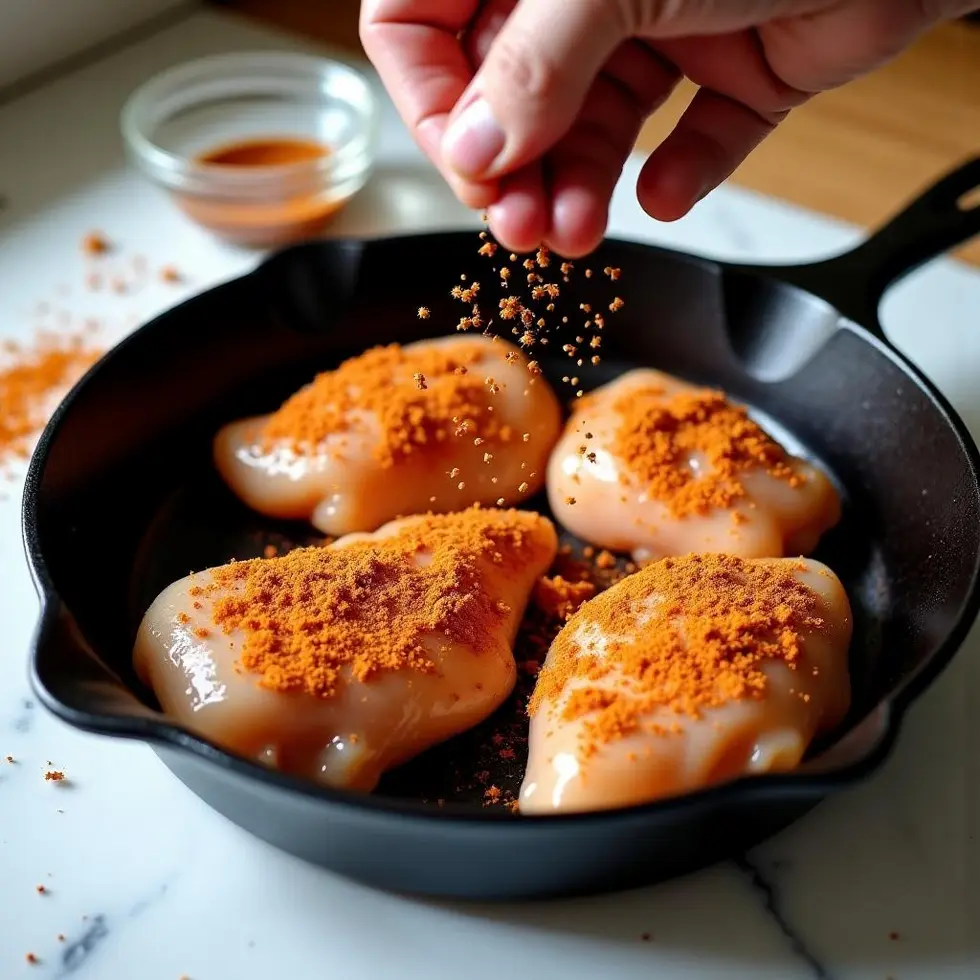
Water is the enemy of a golden-brown crust. Patting the skin completely dry before seasoning allows the surface to reach temperatures where proteins denature and sugars caramelize, instead of steaming in residual moisture.
Salt applied directly to dry skin draws out a small amount of moisture through osmosis, but it evaporates quickly in a hot pan, leaving behind a concentrated layer of seasoning that amplifies browning. Smoked paprika adds color and a faint charred flavor without requiring actual smoke, while garlic powder creates savory depth as its sugars turn golden.
The spice blend here is simple by design, giving you flexibility to add finishing sauces or serve the thighs plain depending on what else is on the plate.
How to Cook Chicken Thighs in a Pan
Heat the Skillet Until the Oil Shimmers
Avocado oil tolerates high heat without smoking, making it ideal for searing. Pour two tablespoons into a large skillet and heat over medium-high until the surface ripples and appears almost translucent.
This visual cue indicates the oil has reached approximately 375°F, hot enough to start browning proteins immediately when the chicken makes contact. If you add the thighs before the oil is ready, they will absorb excess fat and the skin will turn flabby rather than golden.
Sear Skin-Side Down Without Moving
Place each thigh skin-side down in the hot pan and resist the urge to shift or flip them for eight to ten minutes. Movement interrupts contact between the skin and the heat source, preventing even browning.
You will hear a sharp sizzle when the meat touches the pan; this sound should remain steady but not violent. If it quiets too quickly, the heat is too low. If it becomes a roar, reduce the flame slightly to prevent scorching.
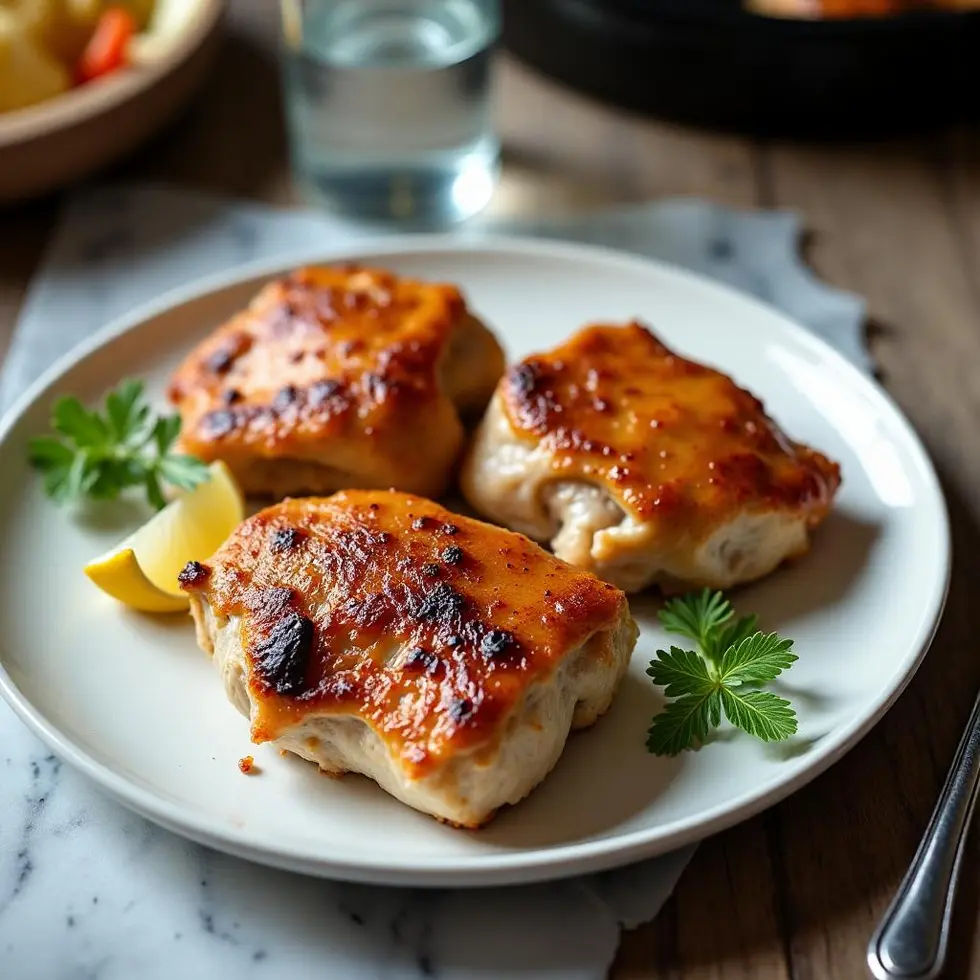
The skin releases naturally from the pan once it develops enough structure. If you try to flip too early and the thigh sticks, wait another minute and try again. A golden-brown crust forms when proteins denature and Maillard compounds accumulate on the surface, a process that requires both time and direct heat.
Flip Once and Check Internal Temperature
After the first side is deeply golden, flip each thigh and cook for eight minutes on the second side. The meat side does not need as much time because the bone shields it from direct heat and the rendered fat from the skin bastes it continuously.
Insert an instant-read thermometer into the thickest part of the thigh, avoiding the bone. When it reads 165°F / 74°C, the chicken is safe to eat. Most home cooks find that thighs benefit from resting even after they reach temperature because the juices are still circulating rapidly and will pool on the cutting board if sliced immediately.
Transferring the thighs to a wire rack instead of a plate allows air to circulate beneath them, preventing the bottom skin from softening in its own steam while the meat rests.
Sauces, Sides and Leftover Ideas
Pan Sauces Build on the Drippings
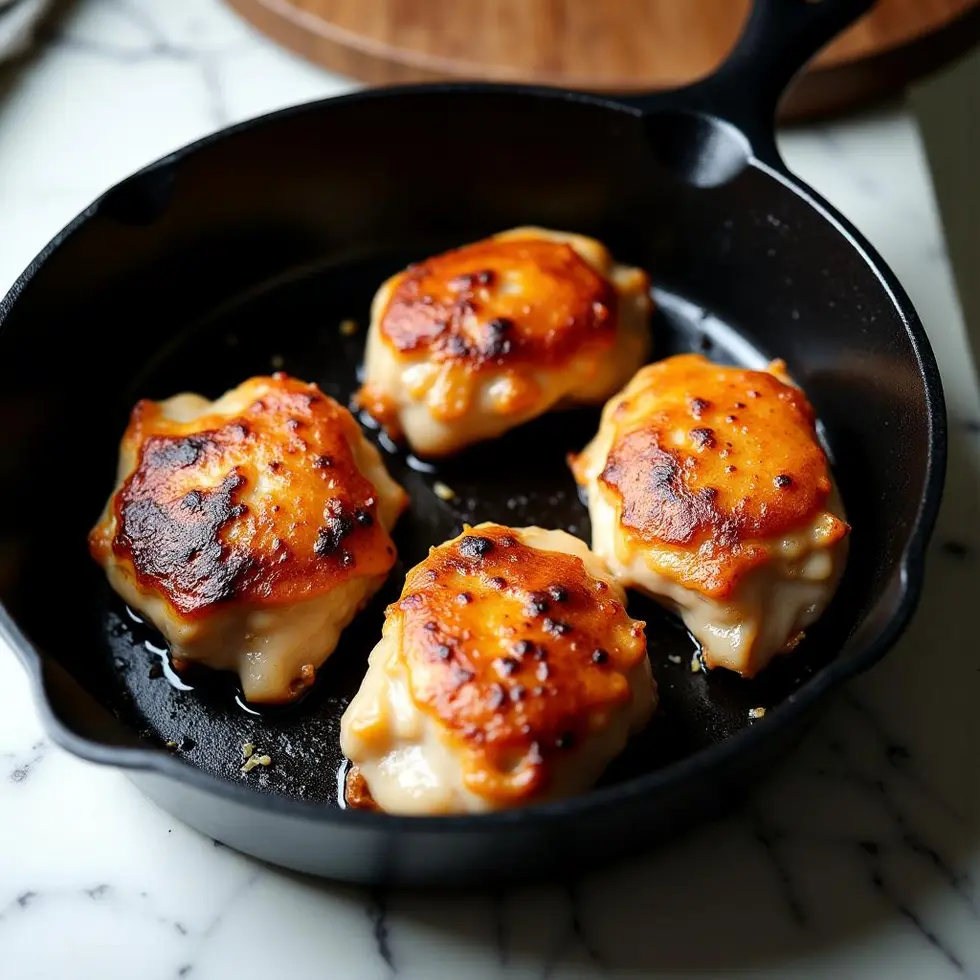
After removing the chicken, the skillet holds a mixture of rendered fat, browned spice particles, and caramelized proteins. Pour off all but one tablespoon of the fat, then add a splash of liquid—stock, citrus juice, or vinegar—and scrape the bottom with a wooden spoon to release the stuck-on bits.
Simmer the liquid until it reduces by half, then whisk in a small pat of cold butter to create a glossy sauce that clings to the meat. For example, Budget Bytes demonstrates this technique in their teriyaki chicken method, building flavor directly from the pan residue.
Serve with Vegetables That Absorb Drippings
Roasted root vegetables, sautéed greens, or steamed rice all benefit from the seasoned fat left in the skillet after you remove the chicken. Toss vegetables in the warm pan for one to two minutes to coat them in the smoky, garlicky drippings.
If you want a crispy coating on another dish, the same approach that creates a golden-brown exterior on thighs applies to other proteins; the Copycat Panda Express Orange Chicken relies on a dry cornstarch layer before frying, while skillet chicken thighs achieve texture through skin rendering and uninterrupted contact with the pan.
Store Leftovers Properly to Maintain Texture
Refrigerate cooled chicken thighs in a single layer on a plate covered loosely with foil, not sealed tightly in plastic. Excess moisture trapped against the skin turns it soggy overnight.
Reheat thighs skin-side down in a skillet over medium heat for three to four minutes to restore the crust, then flip and warm the meat side for two minutes. Microwaving destroys the texture completely, turning the skin rubbery and the meat stringy.
Cold thighs shred easily for grain bowls, tacos, or salads, and the seasoning remains potent even after chilling.
Watch the Skin, Not the Clock
Timing guides work well for most dishes, but skillet chicken thighs respond better to visual and tactile cues. The skin tells you when to flip—it releases cleanly, darkens to a burnished gold, and feels taut when you press it with tongs.
Most home cooks benefit from trusting the thermometer more than the timer, especially when cooking bone-in cuts where thickness varies. Once you understand how fat renders, how proteins tighten, and how resting redistributes moisture, this chicken thigh pan recipe becomes a reliable weeknight method you can adjust without a written guide.
Frequently Asked Questions
Do I need to marinate chicken thighs before pan searing?
No, dry seasoning works better for pan searing because marinades add moisture that prevents browning. Rub spices directly onto dry skin for the best crust. If you prefer marinated flavor, pat the thighs completely dry after removing them from the marinade and before they touch the pan.
Can I use boneless skinless thighs instead?
Yes, but reduce the cooking time to five to six minutes per side and expect a softer exterior since there is no skin to render. Boneless thighs cook faster and require closer attention to avoid drying out. Check temperature at the thickest point and remove them from heat as soon as they reach 165°F / 74°C.
Why does my chicken skin stick to the pan?
Sticking usually means the pan was not hot enough when you added the chicken, or you tried to flip before the proteins had time to form a crust. Let the oil shimmer before adding the thighs, and wait until the skin releases naturally—usually eight to ten minutes on the first side.
How do I know when the chicken is fully cooked without a thermometer?
While an instant-read thermometer is the most reliable tool, you can check by pressing the thickest part of the thigh with your finger. If it feels firm and springs back, and the juices run clear rather than pink, the meat is likely done. However, texture alone does not guarantee safety, so use a thermometer whenever possible to confirm 165°F / 74°C.
Can I cook frozen chicken thighs this way?
No, frozen thighs release too much moisture as they thaw in the pan, creating steam instead of a seared crust. Thaw them completely in the refrigerator overnight, then pat them dry before seasoning. Starting with frozen meat also creates uneven cooking, leaving the center undercooked while the outside burns.
Pan Seared Chicken Thighs
Ingredients
Method
- Pat the chicken thighs dry and rub all over with garlic powder, smoked paprika, black pepper, and salt.
- Heat the avocado oil in a large skillet over medium-high heat until shimmering.
- Place the chicken thighs skin-side down and cook for 8 to 10 minutes without moving until the skin is golden brown and crisp.
- Flip the chicken and cook for 8 more minutes until the internal temperature reaches 165°F / 74°C at the thickest part.
- Transfer the chicken to a wire rack and rest for 5 minutes before serving.
