
Pressing panko into an oiled cutlet creates a coating that browns faster than a wet batter and stays crunchy for at least twenty minutes after cooking.
Most chicken sandwiches fail because the coating gets soggy before you finish assembling them. This quick chicken sandwich recipe fixes that by skipping the wet batter and using a five-minute rest on a wire rack. The wire rack lets air circulate around the chicken instead of trapping steam underneath, which is what makes most breaded chicken go soft. The entire process takes 22 minutes from start to finish, which makes it practical for weeknights when you need dinner fast.
The panko sticks because the olive oil on the cutlet surface acts as an adhesive, and the large flakes of panko create texture that fries faster than fine breadcrumbs. That speed matters when you are working with thin chicken cutlets, which can dry out if you cook them too long. The garlic powder and smoked paprika blend into the coating instead of sitting on top, which means every bite carries the same level of seasoning.
This version works without buttermilk soaks, pickle brines, or pressure fryers. You get a golden-brown crust, juicy chicken that registers 165°F / 74°C in the thickest part, and a sandwich that holds together on a soft bun.
What Makes a Good Chicken Sandwich
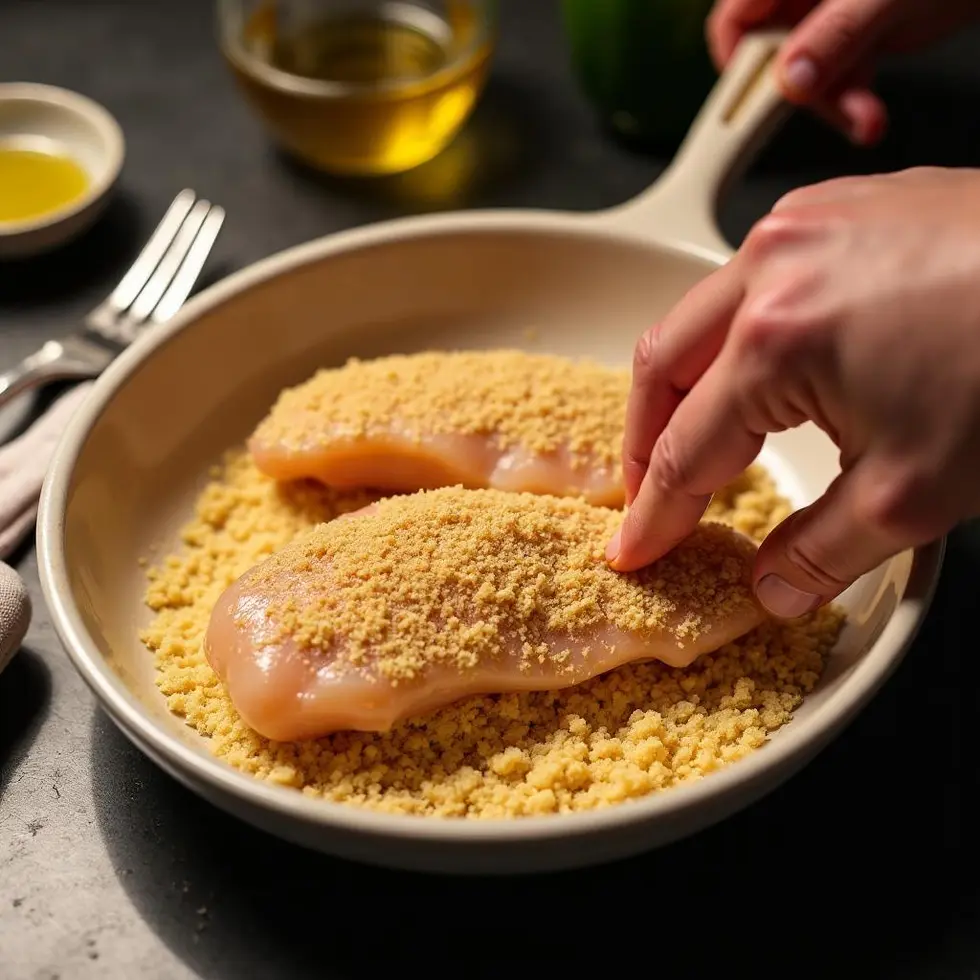
Thin Cutlets Cook Faster and Stay Juicier
Pounding chicken breasts to an even thickness prevents the thin edge from drying out while the thick center reaches 165°F / 74°C. A cutlet about half an inch thick cooks through in 10 to 12 minutes total, which gives you just enough time to build a crust without overcooking the meat. If the cutlet is uneven, the thin sections will be dry by the time the thick part is done.
Thin cutlets also fit better on a standard burger bun. A thick piece of chicken towers over the bun and makes the sandwich awkward to eat.
Panko Creates Larger Surface Area Than Fine Crumbs
Panko breadcrumbs are lighter and flakier than standard breadcrumbs, which means they fry faster and create more texture. The larger flakes catch more heat and brown before the chicken overcooks. Fine breadcrumbs pack down into a dense layer that takes longer to crisp.
This matters when you are cooking thin cutlets over medium-high heat. You want the coating to turn golden in the same amount of time the chicken needs to reach safe internal temperature.
Dry Coating Instead of Wet Batter
Skipping the egg wash keeps prep time short and reduces the number of dishes you need to clean. Coating the chicken with olive oil instead creates enough adhesion for the panko to stick, and the oil also helps the breadcrumbs brown faster once they hit the skillet. Wet batter adds moisture that has to evaporate before the coating can crisp, which extends cooking time and increases the risk of overcooking the chicken.
The dry method also keeps the coating from clumping. Each flake of panko stays separate, which gives you a more even crust.
The skillet method works well for chicken sandwiches because you control the heat and can press the cutlets gently to ensure even contact with the pan.
How to Make a Quick Chicken Sandwich
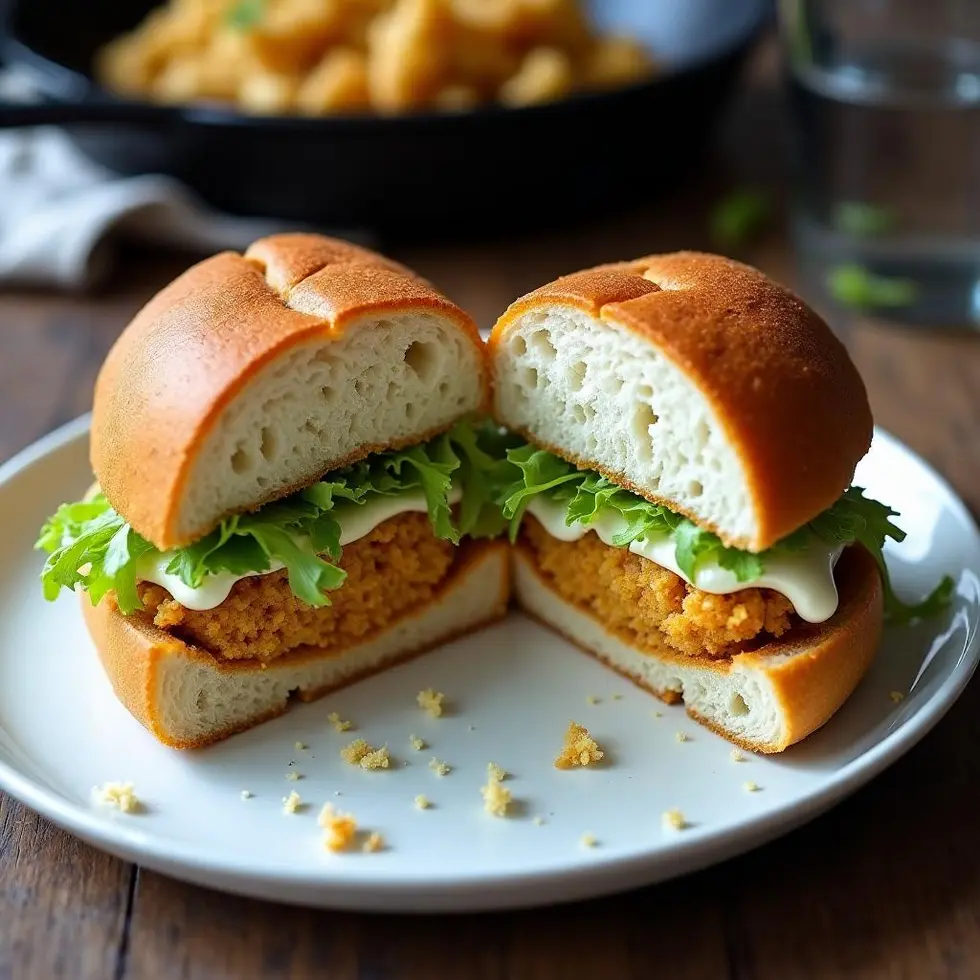
Coat the Chicken and Press the Panko
Brush each chicken breast cutlet with olive oil on both sides. Mix the panko, garlic powder, smoked paprika, and black pepper in a shallow dish. Press each oiled cutlet into the panko mixture, then flip and press the other side. Use your palm to press the panko firmly into the chicken so it adheres evenly.
The oil helps the panko stick without egg wash, and the firm press ensures the coating does not fall off during cooking. If you see bare spots, add more panko and press again.
Cook Over Medium-High Heat for Even Browning
Heat a large skillet over medium-high heat until a drop of water sizzles on contact. Place the coated cutlets in the skillet without crowding them. Cook for 5 to 6 minutes on the first side without moving them. Flip once, then cook the second side for another 5 to 6 minutes.
The coating should turn golden brown, and the internal temperature should reach 165°F / 74°C when measured at the thickest part. If the coating browns too fast before the chicken is done, reduce the heat slightly. If it is not browning after 4 minutes, increase the heat.
Rest on a Wire Rack to Protect the Crust
Transfer the cooked chicken to a wire rack and let it rest for 5 minutes. The wire rack allows air to circulate underneath, which prevents condensation from softening the coating. Resting also lets the juices redistribute through the meat, which makes the chicken more tender.
If you skip the rest or place the chicken on a plate, the steam will collect underneath and turn the crust soggy. The five-minute rest is enough to keep the coating crunchy while the chicken cools to a comfortable eating temperature.
Assemble the sandwiches immediately after resting so the chicken is still warm and the coating has not cooled completely.
Sauces, Toppings and Crispy Variations
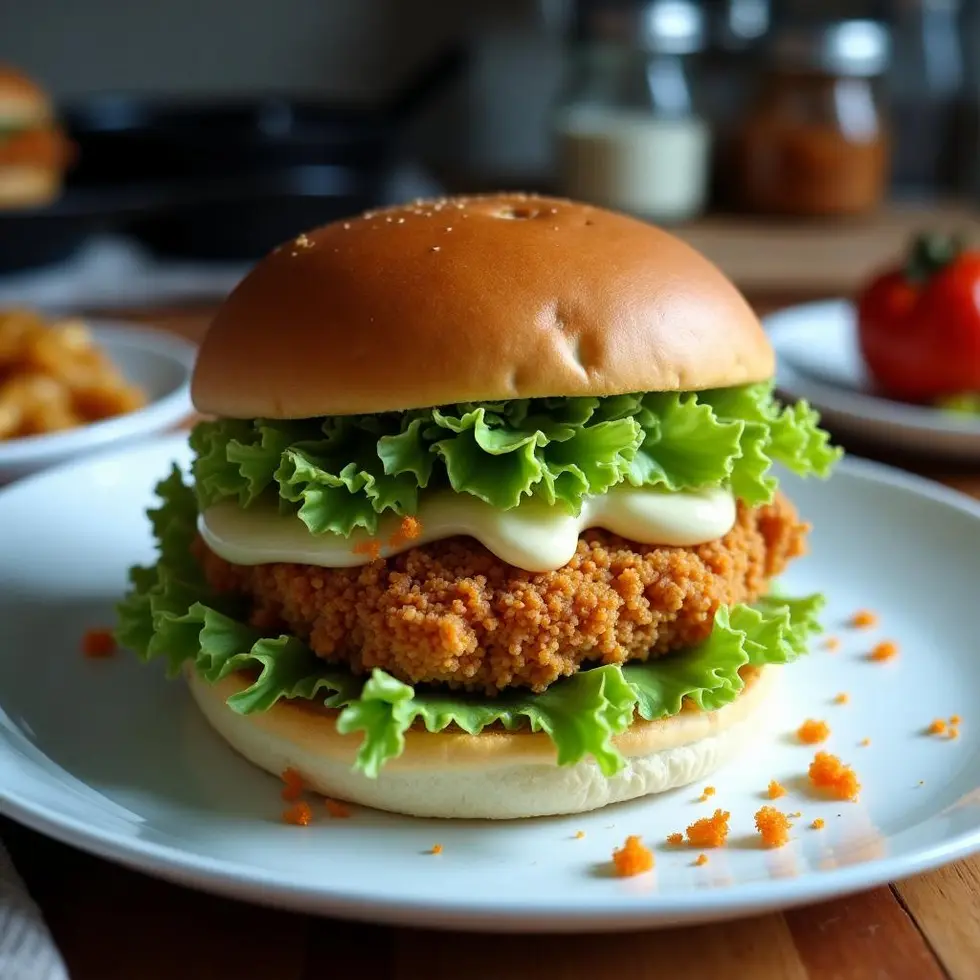
Mayonnaise and Lettuce Keep It Simple
Spreading mayonnaise on the bottom bun adds moisture without dripping, and the fat in the mayo carries flavor into every bite. Shredded lettuce adds crunch and freshness without making the sandwich heavy. This combination works because it does not compete with the seasoned panko coating.
If you prefer a tangy sauce, a blackened ranch sauce adds spice and creaminess without overwhelming the chicken. Other quick chicken sandwich variations build on this base by adding pickles, tomato slices, or hot sauce.
Toast the Buns for Better Texture
Toasting the cut sides of the burger buns in a dry skillet for 1 to 2 minutes creates a barrier that keeps the bread from absorbing moisture from the mayo or lettuce. The toasted surface also adds a slight crunch that contrasts with the soft interior of the bun.
Place the buns cut-side down in the same skillet you used for the chicken while the chicken rests. No oil is needed because the residual heat is enough to brown the surface.
Swap Seasonings or Add Heat
The panko coating works with other spice blends if you want a different flavor. Swap the smoked paprika for cayenne pepper if you want heat, or use onion powder and dried thyme for a savory profile. Small Town Woman adds honey and hot sauce for a sweet-spicy glaze that works well with panko-crusted chicken.
You can also press sesame seeds or grated Parmesan into the panko before coating the chicken for extra texture. Once you understand how the dry coating method works, you can adjust the seasoning to match whatever sides you are serving.
The basic template adapts to weeknight dinners, casual lunches, or meal prep batches that you can reheat later without losing too much crunch.
Serving It Hot and Crunchy
The coating stays crunchiest when the chicken moves from the wire rack to the bun within five minutes. Waiting longer lets the residual heat soften the panko, even on the rack. If you need to hold the chicken for a few extra minutes, place the rack in a 200°F / 93°C oven with the door slightly open to maintain airflow.
Serve the sandwiches immediately after assembly. The longer the chicken sits on the bun, the more moisture the bread releases, which eventually works its way into the coating. If you are making multiple sandwiches, assemble them one at a time so the first one does not sit while you finish the rest.
Frequently Asked Questions
Can I use regular breadcrumbs instead of panko?
Regular breadcrumbs will work, but they create a denser coating that takes longer to crisp. Panko browns faster because the flakes are larger and lighter, which makes them better suited for thin chicken cutlets that cook quickly. If you only have regular breadcrumbs, press them firmly into the chicken and watch the heat carefully to avoid burning before the chicken is done.
How do I keep the coating from falling off during cooking?
Press the panko firmly into the oiled chicken before cooking, and resist the urge to move the cutlets around in the skillet. Flipping too early or too often disrupts the bond between the coating and the meat. Let the first side cook undisturbed for the full 5 to 6 minutes before flipping once.
Can I make this chicken sandwich ahead of time?
You can cook the chicken up to two hours ahead and reheat it in a 375°F / 190°C oven for 5 to 7 minutes to restore the crust. Do not assemble the sandwiches until you are ready to serve, or the bun will absorb moisture and the coating will soften. Store the cooked chicken uncovered on a wire rack to maintain airflow.
What if I do not have a meat thermometer?
Cut into the thickest part of one cutlet after 10 minutes of total cooking time. The meat should be opaque throughout with no pink remaining, and the juices should run clear. A thermometer is more reliable, but this visual check works if you do not have one. Thin cutlets usually reach 165°F / 74°C within the 10 to 12 minute cooking window.
Crispy Chicken Sandwich
Ingredients
Method
- Coat the chicken cutlets with olive oil, then press into a mixture of panko, garlic powder, smoked paprika, and black pepper until fully covered.
- Heat a large skillet over medium-high heat and cook the chicken for 5 to 6 minutes per side until golden and the internal temperature reaches 165°F / 74°C.
- Rest the chicken on a wire rack for 5 minutes to keep the coating crisp.
- Spread mayonnaise on the bottom bun, add lettuce, place the crispy chicken on top, and cover with the top bun.
- Serve immediately while the chicken is warm and the coating is crisp.
