
I baked this at 325°F and pulled it when the center still jiggled, and after a full overnight chill the texture was denser and smoother than any box-mix version I had tried.
This cheesecake gets sliced at birthday dinners, holiday gatherings, and any occasion where you want a tall wedge that holds its shape on the plate. The appeal starts with its dense, ivory-colored filling, which sits heavy on the fork without feeling gummy, and a graham cracker base that stays crisp even after hours in the fridge. Most restaurant-style versions rely on full-fat cream cheese beaten just long enough to incorporate air without turning the batter fluffy, creating that signature compact crumb.
The filling tastes rich because cream cheese makes up almost the entire base, with sour cream adding tang and just enough flour to stabilize the structure during the long bake. You mix the batter in stages, scraping the bowl between additions, so sugar dissolves completely and eggs blend in without overbeating. This cheesecake factory cheesecake copycat recipe skips the water bath and uses a slow oven cooldown instead, letting residual heat finish the center while the edges set firm. That hour-long rest inside the turned-off oven, door cracked open, prevents the surface from splitting as the temperature drops gradually.
What Makes This Cheesecake Factory Copycat Work
The Graham Cracker Base Stays Crisp
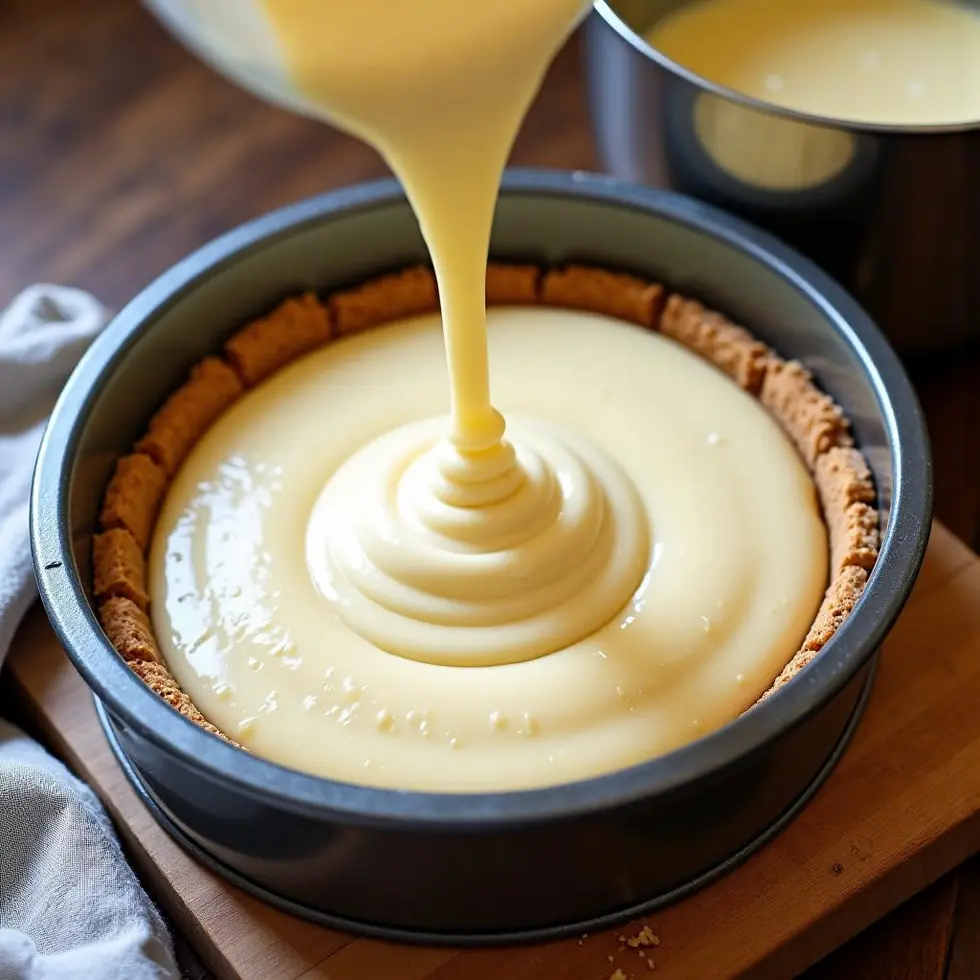
Most restaurant-style cheesecakes press graham cracker crumbs mixed with melted butter into a thin, even layer that bakes firm before the filling goes in. You need 200 grams of crumbs, finely ground, combined with 85 grams of melted unsalted butter until the mixture clumps when squeezed.
Press the crumb mixture into the bottom of a 9-inch springform pan using the flat bottom of a measuring cup or glass, working from the center outward to create an even surface with no gaps. The crust bakes at 325°F for about 10 minutes while you prepare the filling, which sets the butter and prevents sogginess once the wet batter sits on top.
A properly packed crust holds together when you slice through it and provides textural contrast against the creamy filling. Some bakers extend the crumbs halfway up the pan sides, but keeping it flat on the bottom matches the restaurant presentation and makes portioning easier.
Cream Cheese Ratio Creates Dense Texture
The filling uses 900 grams of full-fat cream cheese, softened to room temperature, which makes up the bulk of the batter and delivers that signature dense mouthfeel. You beat the cream cheese with one cup of granulated sugar on medium speed for about three minutes, scraping the bowl twice, until the mixture looks smooth and slightly lighter in color but not whipped.
Adding half a cup of sour cream, two teaspoons of vanilla extract, and two tablespoons of all-purpose flour next gives the filling its tangy edge and structural stability. The flour absorbs excess moisture during baking, which keeps the cheesecake from weeping liquid as it chills.
Eggs go in one at a time on low speed, mixing just until the yellow streak disappears after each addition. Overbeating at this stage incorporates too much air, which expands in the oven and causes cracks as it escapes during cooling.
The homemade cheesecake tastes richer than versions that rely on whipped cream or gelatin because the cream cheese concentration stays high and the batter bakes rather than sets cold. Flavorings like chocolate mousse layered on top can transform the base into a different dessert entirely, but the plain filling remains the most versatile starting point.
How to Bake the Creamy Cheesecake Filling
Baking Temperature and Timing
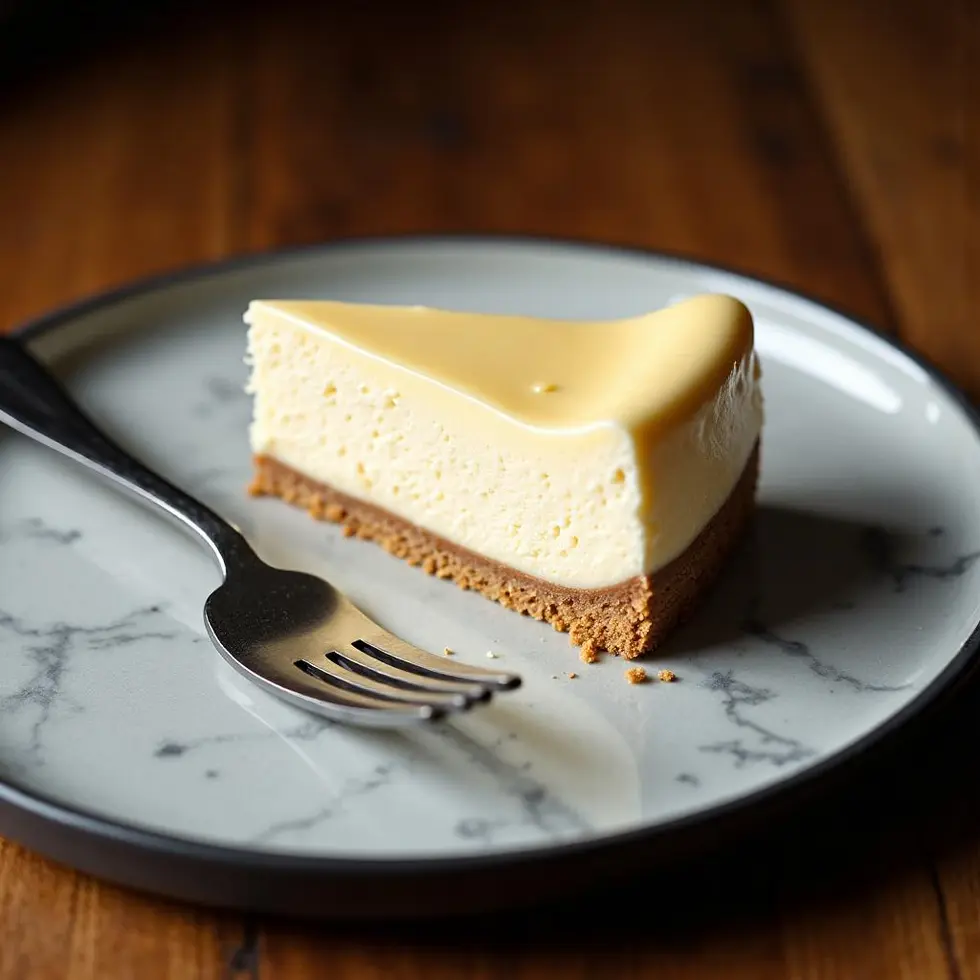
Pour the finished batter over the pre-baked graham cracker crust, smoothing the top with a spatula, and bake at 325°F for 55 to 60 minutes. The edges should look set and slightly puffed, while the center still jiggles when you gently shake the pan.
That wobble in the middle feels counterintuitive, but it firms up completely during the cooldown and chill. Baking until the center looks fully set results in a dry, cracked surface and a grainy texture once you slice into it.
Most ovens run slightly hot or cool, so check the cheesecake at 50 minutes by opening the door briefly and giving the pan a light shake. If the entire surface ripples like liquid, close the door and bake another 10 minutes. If only a three-inch circle in the center moves, turn off the oven immediately.
Oven Cooldown Prevents Cracks
Once you turn off the oven, crack the door open about four inches and leave the cheesecake inside for one full hour. This gradual temperature drop lets the filling finish cooking with residual heat while the structure stabilizes, which prevents the surface from splitting as the cheesecake contracts.
After the hour, remove the pan and let it cool on a wire rack at room temperature for 30 minutes before transferring it to the refrigerator. Chilling a hot cheesecake can cause condensation on the surface, which leaves water droplets that mar the smooth finish.
Refrigerate for at least four hours, though overnight chilling produces the cleanest slices and the firmest texture. The filling continues to set as it cools, and flavors meld together more fully after 12 hours in the fridge.
Scientifically Sweet explains that low-and-slow baking minimizes moisture loss and keeps the proteins in the eggs and cream cheese from tightening too fast. Running a thin knife around the edge of the pan before chilling also releases tension, which reduces the chance of cracks forming as the cheesecake contracts.
Toppings, Chilling and Storage Tips
Topping Options That Complement the Base
The plain filling pairs with fresh strawberries, blueberry compote, caramel drizzle, or a dusting of powdered sugar. Fruit toppings work best when added just before serving, since their juice can soften the surface if left on too long.
For a chocolate variation, melt four ounces of semisweet chocolate with two tablespoons of heavy cream, let it cool slightly, and spread it over the chilled cheesecake in a thin, even layer. The contrast between tangy cream cheese and dark chocolate mirrors some of the flavored versions served at the restaurant.
If you prefer a spiced profile, pumpkin filling swaps out some of the cream cheese for puree and adds cinnamon, nutmeg, and ginger to the batter. Each topping changes the dessert’s identity while the dense base remains constant.
Chilling and Storage
Once the cheesecake has chilled overnight, run a thin knife dipped in hot water around the inside edge of the springform pan, wipe the blade, and repeat before releasing the clasp. This step ensures the cheesecake separates cleanly from the metal ring without tearing the sides.
For the neatest slices, dip a long, sharp knife in hot water, wipe it dry, and cut straight down through the filling in one smooth motion. Wipe and reheat the blade between each slice to prevent crumbs from dragging through the smooth surface.
Store leftovers covered in the refrigerator for up to five days. The texture stays dense and the flavor actually improves after the second day as the vanilla and tang from the sour cream develop further.
You can freeze individual slices wrapped tightly in plastic wrap and foil for up to two months. Thaw them in the refrigerator overnight before serving, which preserves the creamy consistency better than thawing at room temperature.
Serve It at the Table
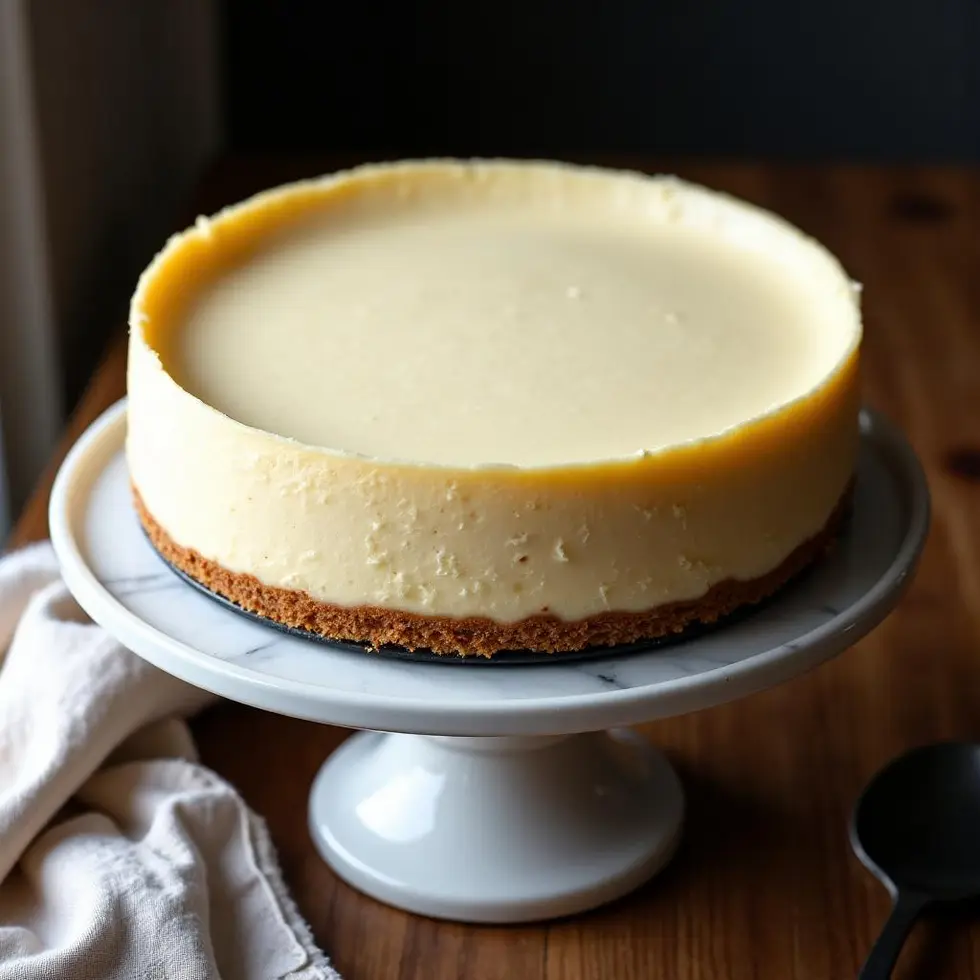
This cheesecake factory cheesecake copycat recipe delivers the most satisfaction when you bring the whole dessert to the table on a cake stand and slice it in front of guests. The tall wedges, clean edges, and smooth ivory filling make an impression before anyone takes a bite, and the dense texture holds up on the plate without collapsing or weeping liquid.
Pair each slice with a dollop of lightly sweetened whipped cream or a spoonful of berry compote if you want to balance the richness. The plain version also works as a base for experimenting with different toppings each time you bake it, so you can serve strawberry cheesecake one week and salted caramel the next without changing the recipe itself.
Frequently Asked Questions
Can I use a different pan size for this cheesecake?
A 9-inch springform pan is required for the recipe as written, since the batter quantity and baking time are calibrated to that size. Using an 8-inch pan will make the cheesecake taller and require an additional 10 to 15 minutes of baking, while a 10-inch pan will produce a thinner dessert that finishes faster and may crack more easily. Stick with the 9-inch size for consistent results.
Why does my cheesecake crack even when I follow the timing?
Cracks usually form when the cheesecake cools too quickly or when the batter is overbeaten. Make sure you beat the cream cheese mixture just until smooth, add eggs on low speed, and allow the full one-hour cooldown in the turned-off oven with the door cracked. Running a knife around the pan edge before chilling also releases tension and prevents surface splits.
Can I make this cheesecake without a springform pan?
A springform pan is strongly recommended because the removable sides make it easy to release the cheesecake without damaging the filling. If you use a regular cake pan, you will need to line it with parchment paper extending up the sides and lift the entire cheesecake out once chilled, which can be tricky and may disturb the smooth surface.
How long does the cheesecake need to chill before serving?
The filling requires at least four hours in the refrigerator to set completely, but overnight chilling produces the cleanest slices and the firmest texture. The flavor also improves after 12 hours as the vanilla and sour cream develop more fully. Plan to bake the cheesecake the day before you intend to serve it.
Can I reduce the sugar in this recipe?
Reducing the sugar below one cup will make the filling less sweet but may also affect the texture, since sugar helps retain moisture and contributes to the smooth mouthfeel. If you want a less sweet dessert, start by reducing the sugar to three-quarters of a cup and taste the batter before baking, though the tangy sour cream already balances the sweetness.
What causes a grainy texture in cheesecake?
A grainy texture usually results from overmixing the batter after adding the eggs, which breaks down the protein structure, or from baking at too high a temperature, which causes the eggs to curdle. Beat the cream cheese and sugar thoroughly at the start, but switch to low speed once you add the eggs and mix just until combined to maintain a smooth consistency.
Cheesecake Factory Cheesecake
Ingredients
Method
- Preheat the oven to 325°F / 163°C and mix graham cracker crumbs with melted butter, then press firmly into the bottom of a 9-inch springform pan.
- Beat cream cheese and sugar on medium speed until smooth and fluffy, about 3 minutes, scraping the bowl as needed.
- Add sour cream, vanilla extract, and flour, then beat until combined, followed by eggs one at a time on low speed just until incorporated.
- Pour the filling over the crust and bake for 55 to 60 minutes until the edges are set but the center still jiggles slightly when gently shaken.
- Turn off the oven, crack the door open, and let the cheesecake cool inside for 1 hour to prevent cracking.
- Refrigerate for at least 4 hours or overnight until completely chilled and set before removing from the pan and slicing.
